WOODSHOP SAFETY RULES AND GUIDELINES
GENERAL SAFETY RULES AND GUIDELINES
- You must be authorized to use the SVE Woodshop. Only SVE members will be authorized. To be authorized, you must first read the Woodshop Rules and Guidelines and complete and sign a Liability Release Form.
- Woodshop Monitors have absolute power in the Woodshop. If they think some operation is dangerous, then it is. Period. No arguments will be accepted.
- Stay Alert and Aware of your surroundings. Most accidents can be prevented simply by avoiding dangerous situations.
- No smoking is allowed in the Woodshop. No open flame (cigarette lighter, propane torch, welding torch, candle, match) is allowed in the Woodshop. Sawdust, wood, and paint solvents in the presence of a flame or spark is an invitation to fire and explosion.
- You must clean your area and stow tools after each use of the Woodshop.
- If a member changed the configuration of a machine (changed saw blade, installed dado set, installed router bit, etc.) to perform a task, that member is expected to return the machine to the previous configuration before leaving the shop.
- Do not leave unfinished projects on benches, carts, or tool surfaces. Projects must be stored in appropriate locations.
- Safety equipment, such as eye protection and hearing protection must be worn for tools and machines for which they are required.
- Report any damaged, broken, or unusable tools to a Woodshop monitor. Never use damaged or broken machines. Never use a machine that is producing an unusual sound.
- You must report an accident immediately (see accident reporting).
- You must use installed guard systems unless removal has been approved by the Head Monitor. Be sure guards are properly adjusted.
- Never remove guards; the removal of guards unnecessarily will result in loss of permission to use the Woodshop.
- Plan out what you are doing before you do it.
- When in doubt, ask for assistance from a Woodshop Monitor.
- Closed toed shoes must be worn. No loose jewelry, hair, or clothing is allowed when operating power tools.
- All machines must be used for their intended purpose. Never overload machines by forcing the operation.
- Never leave running tools unattended. Always turn power off when finished.
- Always keep hands and fingers a safe distance (at least 2 inches for most tools and 4 inches for circular saw blades) from any moving blade.
- If you are unsure of any special setups, ask a Woodshop Monitor to approve or assist in the operation.
- Never distract anyone using a machine. Wait until they have completed the operation before approaching or initiating any conversation.
- Always use the dust collection system to reduce airborne dust in the shop, which is the least visible safety issue but potentially one of the worst. All power equipment has manually operated dust gates which are to be opened by each user before the power equipment is turned on and closed by each user after the power equipment is shut down.
- Always refer to tool manuals before performing any maintenance operations.
- None of the woodworking machines, excepting drill presses, shall be used for cutting ferrous metal. This hard rule applies to woodworking machines, and not to the few shop machines designed specifically for cutting metals, such as the grinders for sharpening lathe tools, the small vertical-belt sander for sharpening knives, and the battery-powered metal-cutting bandsaws specifically designed for cutting steel.
- No chairs or stools will be left on the main shop area and planer room floor (policy does not apply to the finishing room), except the one chair by the sign-in desk. Sitting on a stool or chair in these shop areas is okay, but once you are finished sitting, you must return the chair or stool to it's storage location off of the shop floor.
- The Woodshop may sell hobbyist supplies to members at reasonable rates as long as any profit derived is returned to the club. Individual club members are not allowed to engage in internal resale activities (including hobbyist supplies) which result in personal monetary gain.
- The SVE Woodshop, as are other Arts and Crafts facilities, is intended for use by SVE members for the express purpose of pursuing and encouraging hobbyist activities. The use of these facilities is NOT intended to promote or enhance commercial gain.
EQUIPMENT-SPECIFIC SAFETY RULES AND GUIDELINES
Table Saw Safety
Lathe Safety
Bandsaw Safety
Sander Safety
Compound Miter Saw Safety
Jointer Safety
Planer Safety
Drill Press Safety
Scroll Saw Safety
Grinder Safety
Hand-Held Power Tool Safety
Pneumatic Nailer and Stapler Safety
Paint, Solvent and Paint Remover Safety
TABLE SAWS
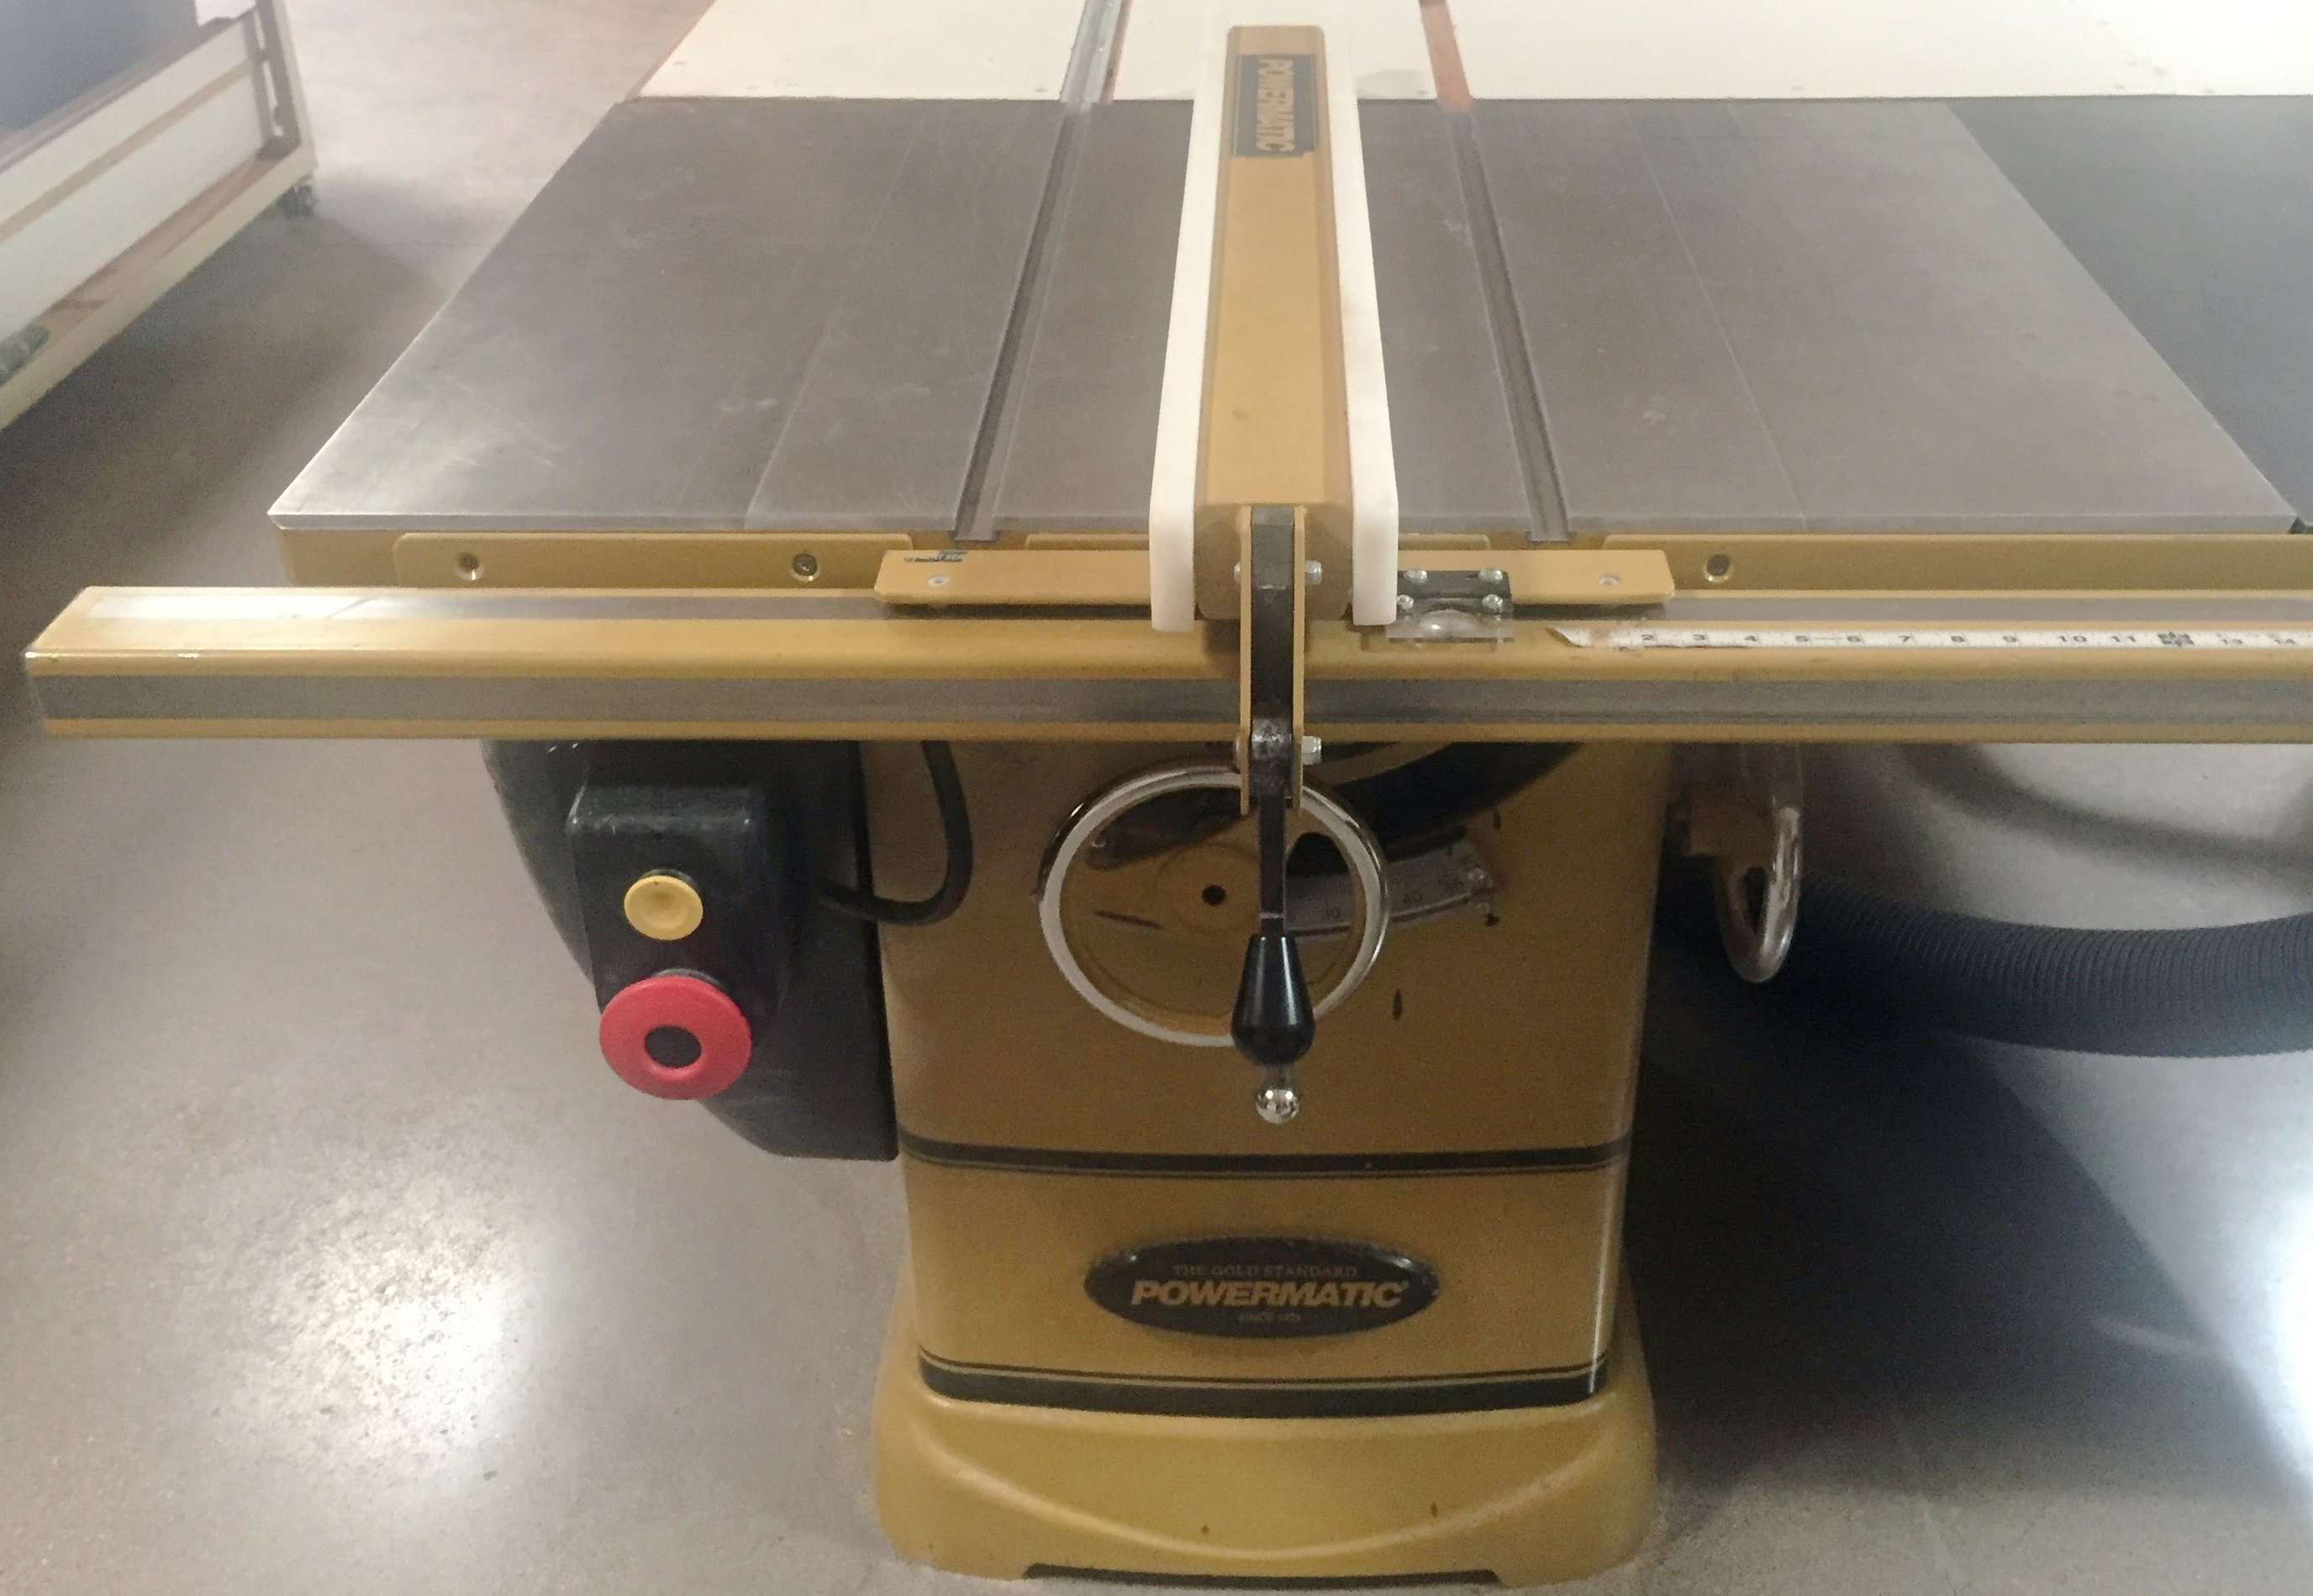
A table saw can be a very dangerous piece of equipment if it is not handled and maintained properly. Used properly, it can be very safe. Cabinetmakers have spent their entire careers working daily with table saws and never cut off a finger or suffered other serious injury. They avoided injury by observing all safety precautions religiously, never letting down their guard or taking unsafe shortcuts. On the other hand, many, many people have been seriously injured; always because they have not understood or heeded safety procedures.
The table saw gets its name from the circular saw blade that is positioned in the middle of a table. The work piece is brought into contact with the rapidly rotating blade. A properly maintained table saw is equipped with a riving knife (a splitter; to keep the cut pieces aligned with the blade) a push stick, and a fence. A fence is a material barrier that assists in guiding the material through the blade. The push stick is a piece of wood that is used in place of the operator's hands for work close to the blade. It allows an operator to push the work piece into the blade without the blade getting close to their hands. It must be used when trying to cut a piece of wood 6 inches wide or less. The push stick should be placed on the material between the blade and the fence, closer to the blade than to the fence.
The most frequent types of accidents that occur from the use of the table saw are cuts and kickbacks. These can be minimized by using the proper guarding and safe work practices. Kickback occurs when the work piece becomes unguided between the blade and the fence allowing the work piece to be forcibly ejected back, towards the operator. Kickback can also occur when the teeth at the back of the blade "lift" the stock straight towards the operators face. The chance of kickback can be reduced by using a riving knife, and by guiding the workpiece fully past the saw blade on each cut.
Power saw operators often are injured when their hands slip off the work piece while pushing it into the saw, or when holding their hands too close to the blade during cutting operations. This type of injury can be avoided by using a push stick. A kickback occurs during a cutting operation when a part or the entire work piece is violently thrown back towards the operator. Kickbacks can be stopped by ensuring that the material being cut remains firmly against the fence while being pushed through the blade, keeping the saw blade sharp, and keeping the riving-knife splitter in place, and by assuring that the work piece is always pushed completely beyond the saw blade before removing one's hand or push stick from it. Eye protection must always be worn when working with the table saw.
All new users must first attend a table saw orientation (from one of the Woodshop Monitors) before being cleared to use a table saw.
Important safety rules and guidelines to follow while operating a table saw:
- The riving knife should be in place for all cuts other than with the multi-blade dadoing set or for wedgie-sled cuts. If you have a cut that cannot be performed with the riving knife in place, a Woodshop Monitor must approve the operation before it occurs.
- The blade should be just high enough to cut through the piece -- no more than 1/4 inch above the stock.
- When the fence is closer than 6 inches to the blade a push stick is REQUIRED to guide a piece through the saw.
- AVOID KICKBACKS -- Never leave wood stock between the blade and the fence. Be sure to push wood stock all the way past the blade after it is cut. Do not allow wood stock to tip away from the fence and towards the blade; that is, force the wood stock to stay against the fence. The best way to help to prevent kickback is to learn to recognize the potential for the situation to develop. Common causes include material bowing during cutting, or material drifting away from the fence during cutting, or using the fence and the miter gauge for crosscutting narrow pieces. Here is a YouTube video showing just how serious kickback can be, even for an experienced woodworker with 20 years of experience.
- Ask a Woodshop Monitor to assist if any special cuts need to be performed.
- The work piece should be placed firmly next to the fence or cross-cut guide.
- Your hand must never be in line with the blade or near the blade while the saw is running.
- Your hands must never come closer to the running saw blade than four inches.
- Do not perform any "freehand" operations. A freehand operation is defined as one when the material is not supported or guided by the fence or the miter gauge.
- The fence is only used during ripping operations. A miter gauge or cross-cut sled are only used during cross-cutting. Misuse is a recipe for kickback.
- Always check the set-up carefully on the table saw before turning on the power. Wait until the blade stops completely before adjusting fence and measuring the distance from the blade.
- When ripping stock, the fence should never be closer than 1/2 inch to the blade. For single cuts, put the thinnest piece to the outside of the blade. For multiple cuts, consider using a spacer board clamped against the fence, or consider cutting the thin strips on the big bandsaw.
- The table saw should always be turned off, the blade lowered below the table, and the fence centered over the blade when you are done. This is a safety precaution in its own right, but because we have two opposing table saws on the same workbench, it keeps the unused fences out of the path of the other saw.
- Never adjust the saw while it is running.
- Wait for saw blade to come to a complete stop before walking away.
- Wearing eye protection is mandatory.
- When you are acting as a helper for cutting long stock, you do not pull the stock, only support it so it does not fall or tilt during the operation. Only the operator controls feed speed.
- Never move stock backward while the blade is moving. If a situation develops where you can’t complete the cut, stop the saw, with your knee against the stop button, while holding the stock in place, wait until blades stops, then remove the material.
- The fence and miter gauge must never be used simultaneously unless the miter gauge is between the fence and the blade, or a stop block on the fence has been installed well ahead of the blade. This setup allows plenty of room for cutoffs to "hang-out", but not become trapped between the fence and the blade. Ask if you don’t understand this setup.
- Be sure to use a proper stance while cutting. A proper stance is one that places the operator to the left of the stock (in case of kickback) and allows the operator total control of feeding the stock through the machine. The operator should use the left hand to hold the stock against the fence and down onto the table. The operator’s right hand feeds the material into the blade at a speed appropriate for the cut- not too fast, not too slow.
- Because of the weight and size of large panels (plywood), proper technique and skill must be used, and an auxiliary outfeed table is necessary. Consider the operation carefully before beginning. For such cuts, get assistance from a Woodshop Monitor (mandatory).
- Before starting a cut confirm that the fence is locked into position. This sounds obvious, but if the fence shifts during cutting, a kickback or some other incident is sure to happen.
- Do not attempt to rip stock shorter than 12 inches. Use a bandsaw instead.
- The fence is only used during ripping operations. The miter gauge and cross-cut sled are only used during cross-cutting. Misuse is a recipe for kickback.
- Material must have at least one straight edge (jointed) and one relatively flat face to be cut on the table saw. Crooked or bowed edges cause material to shift during cutting and greatly increases the probability of a kickback. If stock has a slight face bow, place bow facing down.
- Keep loose clothing and hair away from blade.
- The safety cut-off switch (not the same as the power switch) must be OFF while a saw blade is being changed or any other maintenance is performed on the table saw.
- Clean the table saw and the floor when finished. Your mess belongs to you.
LATHES
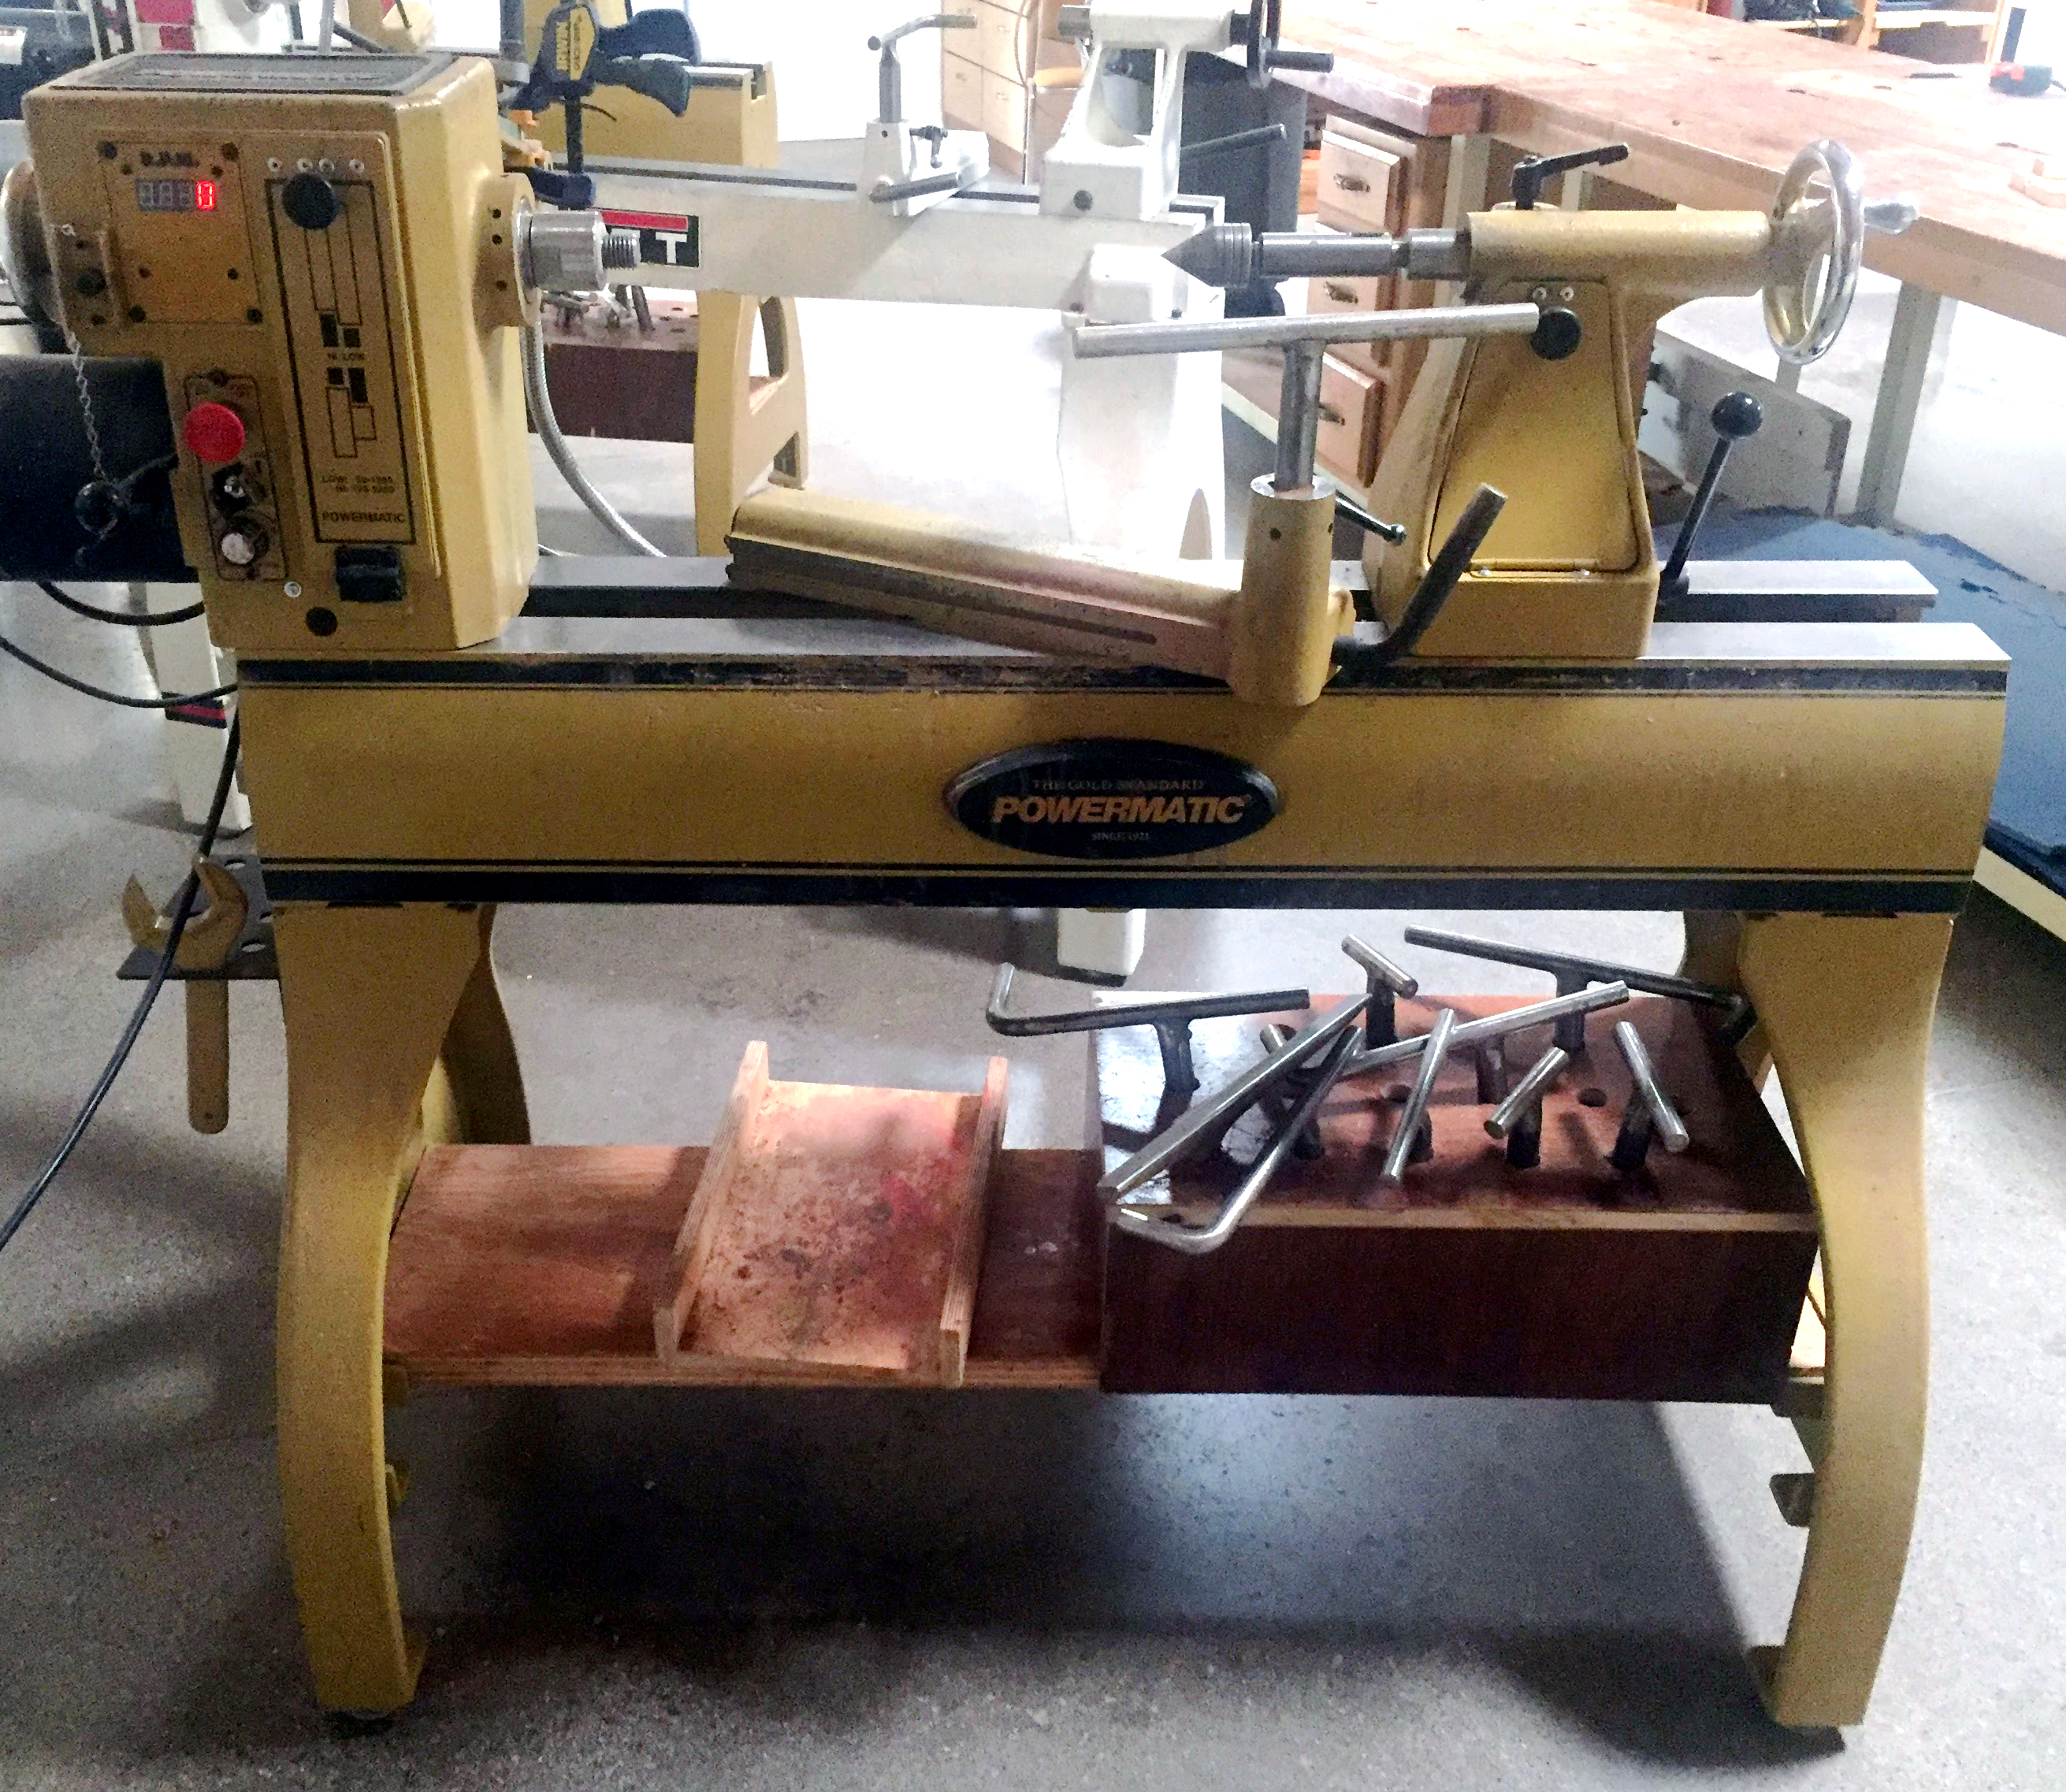
It is of utmost importance to have proper respect for woodturning equipment and an attitude of safety. Lathes can be very safe, but of all the power tools in a woodshop, a lathe, improperly used, can kill or permanently injure you faster than any of the others. If a workpiece flies off at high speed and strikes you in the head, it can kill you in an instant. If you get wound up in the workpiece, a lathe is powerful enough to tear off an arm or strangle you. Lathes must be respected, but they need not be feared if you pay attention to all safety precautions.
- Use a full faceshield that meets ASTM Z87+ standards while turning. (This requirement is mandatory). Goggles are okay for slow-speed sanding, but not for turning.
- Tie back long hair, and avoid loose clothing that may catch on rotating parts or accessories.
- Always check the speed of a lathe before turning it on. Use slower speeds for larger diameters or rough pieces, and higher speeds for smaller diameters and pieces that are balanced. Always start a piece at a slower speed until the work pieces is balanced. If the lathe is shaking or vibrating, lower the speed. If the workpiece vibrates, always stop the machine to check the reason.
- Check that all locking devices on the tailstock and tool rest assembly (rest and base) are tight before operating the lathe.
- Position the tool rest close to work, almost touching the wood. Check tool rest position often and as wood is removed, turn off the lathe and re-position the rest.
- Rotate your workpiece by hand to make sure it clears the toolrest and bed before turning the lathe “on.” Be certain that the workpiece turns freely and is firmly mounted. The handwheel on the outboard side of the headstock simplifies this process of spinning the lathe by hand before turning on the switch.
- Be aware of what turners call the “red zone” or “firing zone.” This is the area directly behind and in front of the workpiece -- the area most likely for a piece to travel if it comes off the lathe. A good safety habit is to step out of this zone when switching the lathe to the “on” position. When observing others turn stay out of this area.
- Hold turning tools securely on the toolrest, holding the tool in a controlled and comfortable manner. Always contact the tool rest with the tool before contacting the wood.
- It is safest to turn the lathe “off” before adjusting the toolrest or toolrest base (banjo).
- Remove the toolrest before sanding or polishing operations.
- Never leave a lathe running unattended. Turn the power off. Don’t leave that lathe until it comes to a complete stop.
BANDSAWS
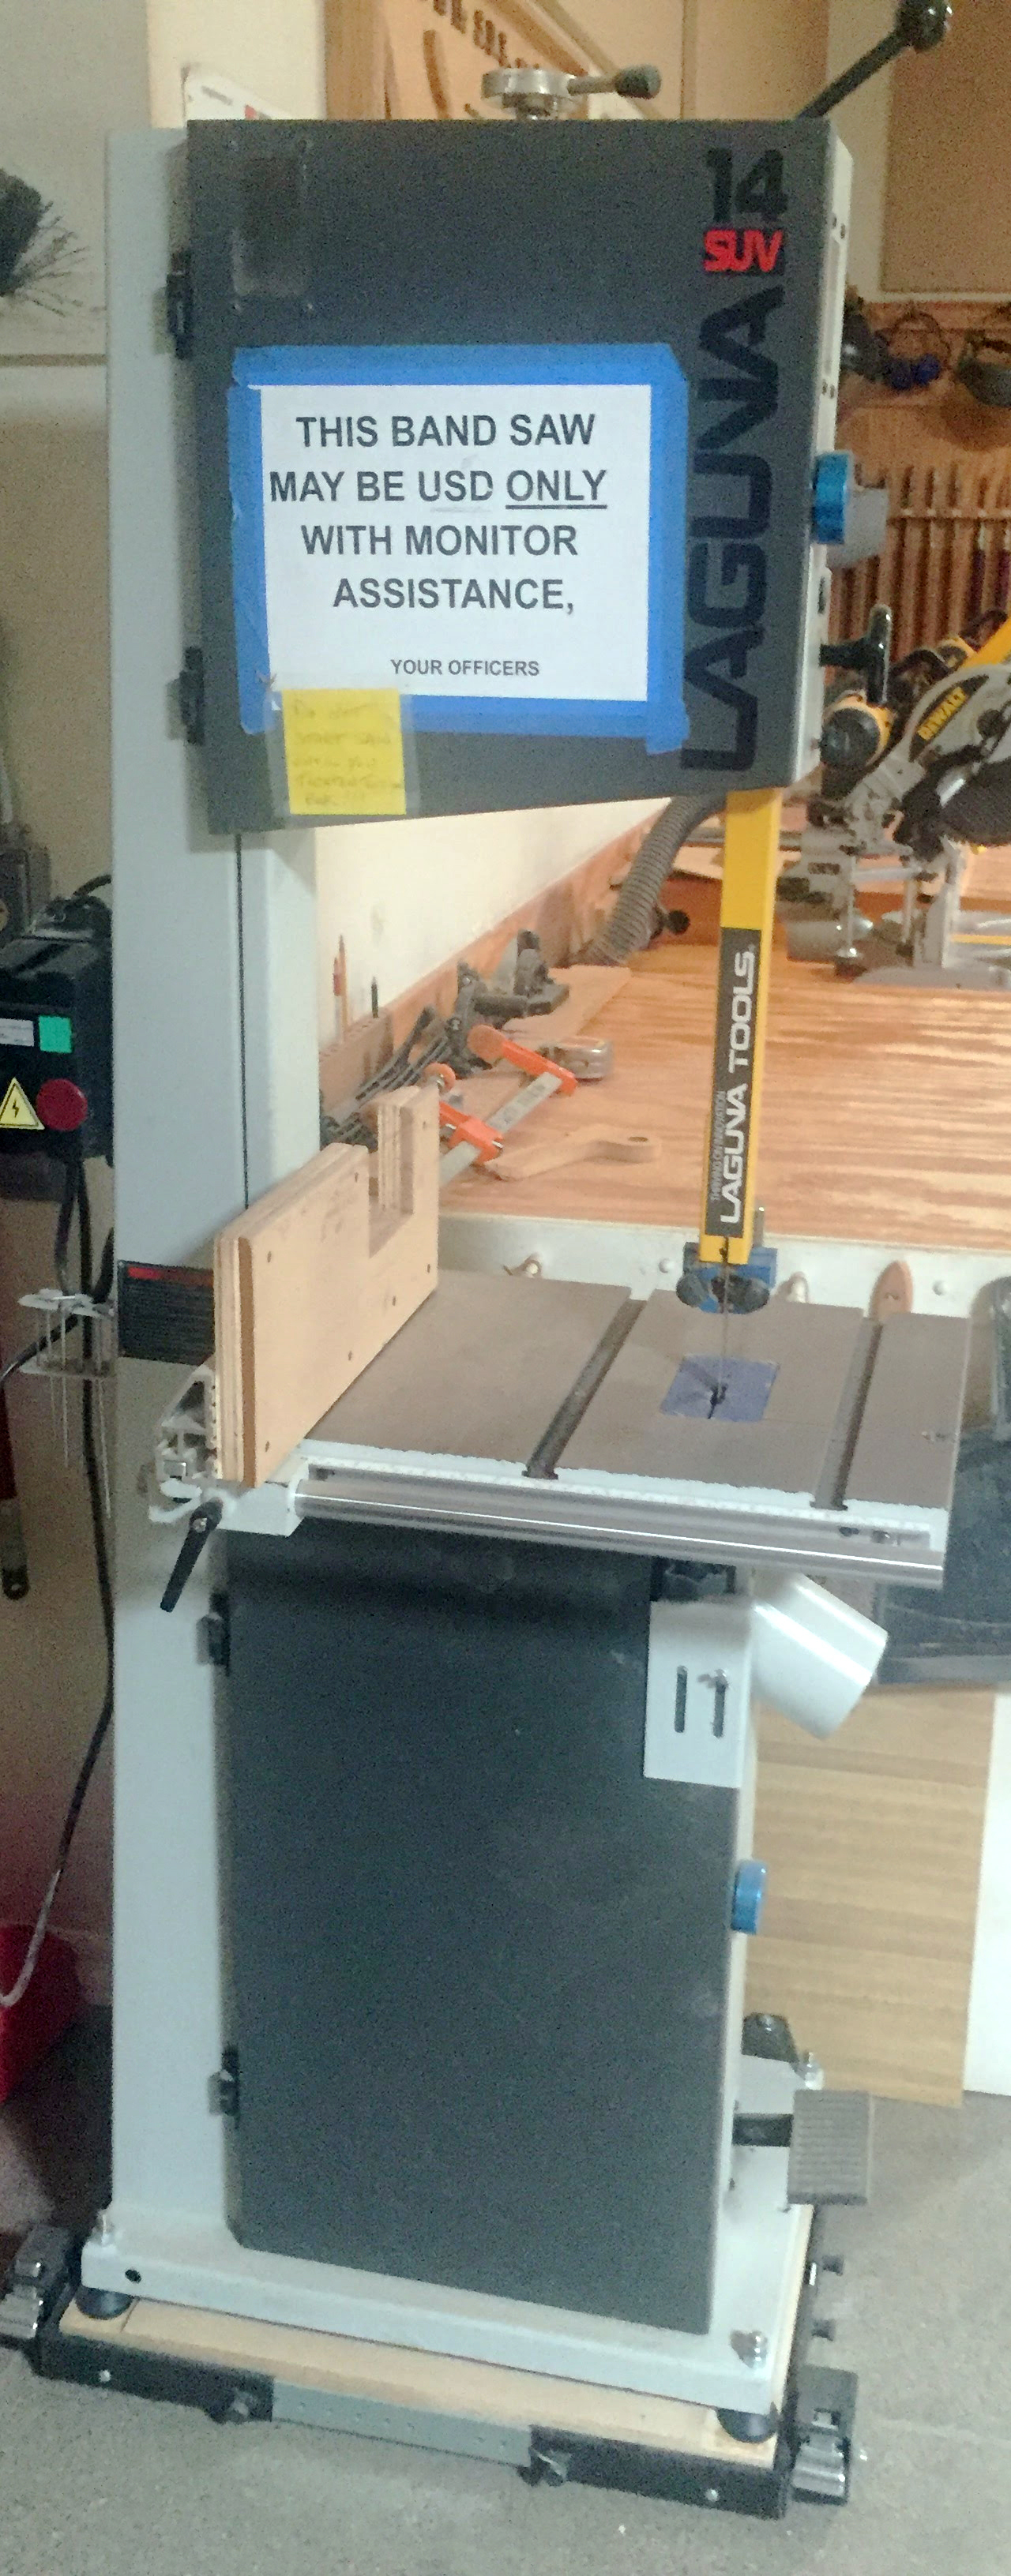
A bandsaw has a long, thin blade that travels in a constant path around flat-faced wheels. The only portion of the blade exposed is the area from the table to the top of the work piece. The wheels and all non-working parts of the blade are encased within the machine.
The most frequent type of accident associated with the band saw is finger cuts. Carelessness and recklessness are the major reasons behind band saw accidents.
The operator should never hold his hand directly in front of the band saw blade when cutting small work pieces because he/she may accidentally push his hand into the blade. If the blade guards are in place and the upper guide is in the proper position, the operator's hands should remain clear of all moving parts of the saw blade. Band saw blades should periodically be examined for cracks and broken teeth. The operator should contact a Woodshop Monitor if there are any questions concerning the blade. If the band saw blade breaks or comes off, you should step away immediately, shut off power, and call a Woodshop Monitor.
- The large 14-inch Laguna bandsaw in the main workroom is reserved for resawing, and for ripping logs (cutting with the grain) provided there is a flat surface against the bandsaw's table. There is to be no cutting of anything on this bandsaw unless by a Monitor or Member specifically trained in its usage.
- No crosscutting of logs on any bandsaw. This is what electric chainsaws are for. We have Monitors, trained to use the chainsaw, who will cut logs for you.
- No cutting of bowl blanks on the small bandsaw. Bowl blanks up to 3 inches thick may be cut on Laguna 14-12 lathe in the planer room.
- The upper guide of a band saw should be set at a height just above the work piece.
- Keep your hands out of the path of the blade. Never allow your fingers to come closer than 2 inches to the blade.
- GO SLOW! Do not force material through the blade.
- Make short cuts before long ones to avoid unnecessary backing out.
- The guide should be no more than a 1/4 inch above the stock.
- When it is necessary to back out stock from a long cut you should stop the machine, wait for the blade to come to a complete stop and then back out the work piece.
- Remove jammed pieces of stock only when machine is stopped.
- Woodworkers who want to use the bandsaws for cutting logs must ask for monitor assistance. When cutting logs, the log must have a true, flat side that will rest on the bandsaw's table or be securely attached to a sled or fixture to ensure stability. An unsupported log can roll causing injury to the operator and/or damage to the machine.
- Wear eye protection.
- Keep loose clothing and hair away from blade.
- Clean the machine and the floor when finished.
HORIZONTAL AND VERTICAL BELT SANDERS, DISK SANDER, OSCILLATING SPINDLE SANDER
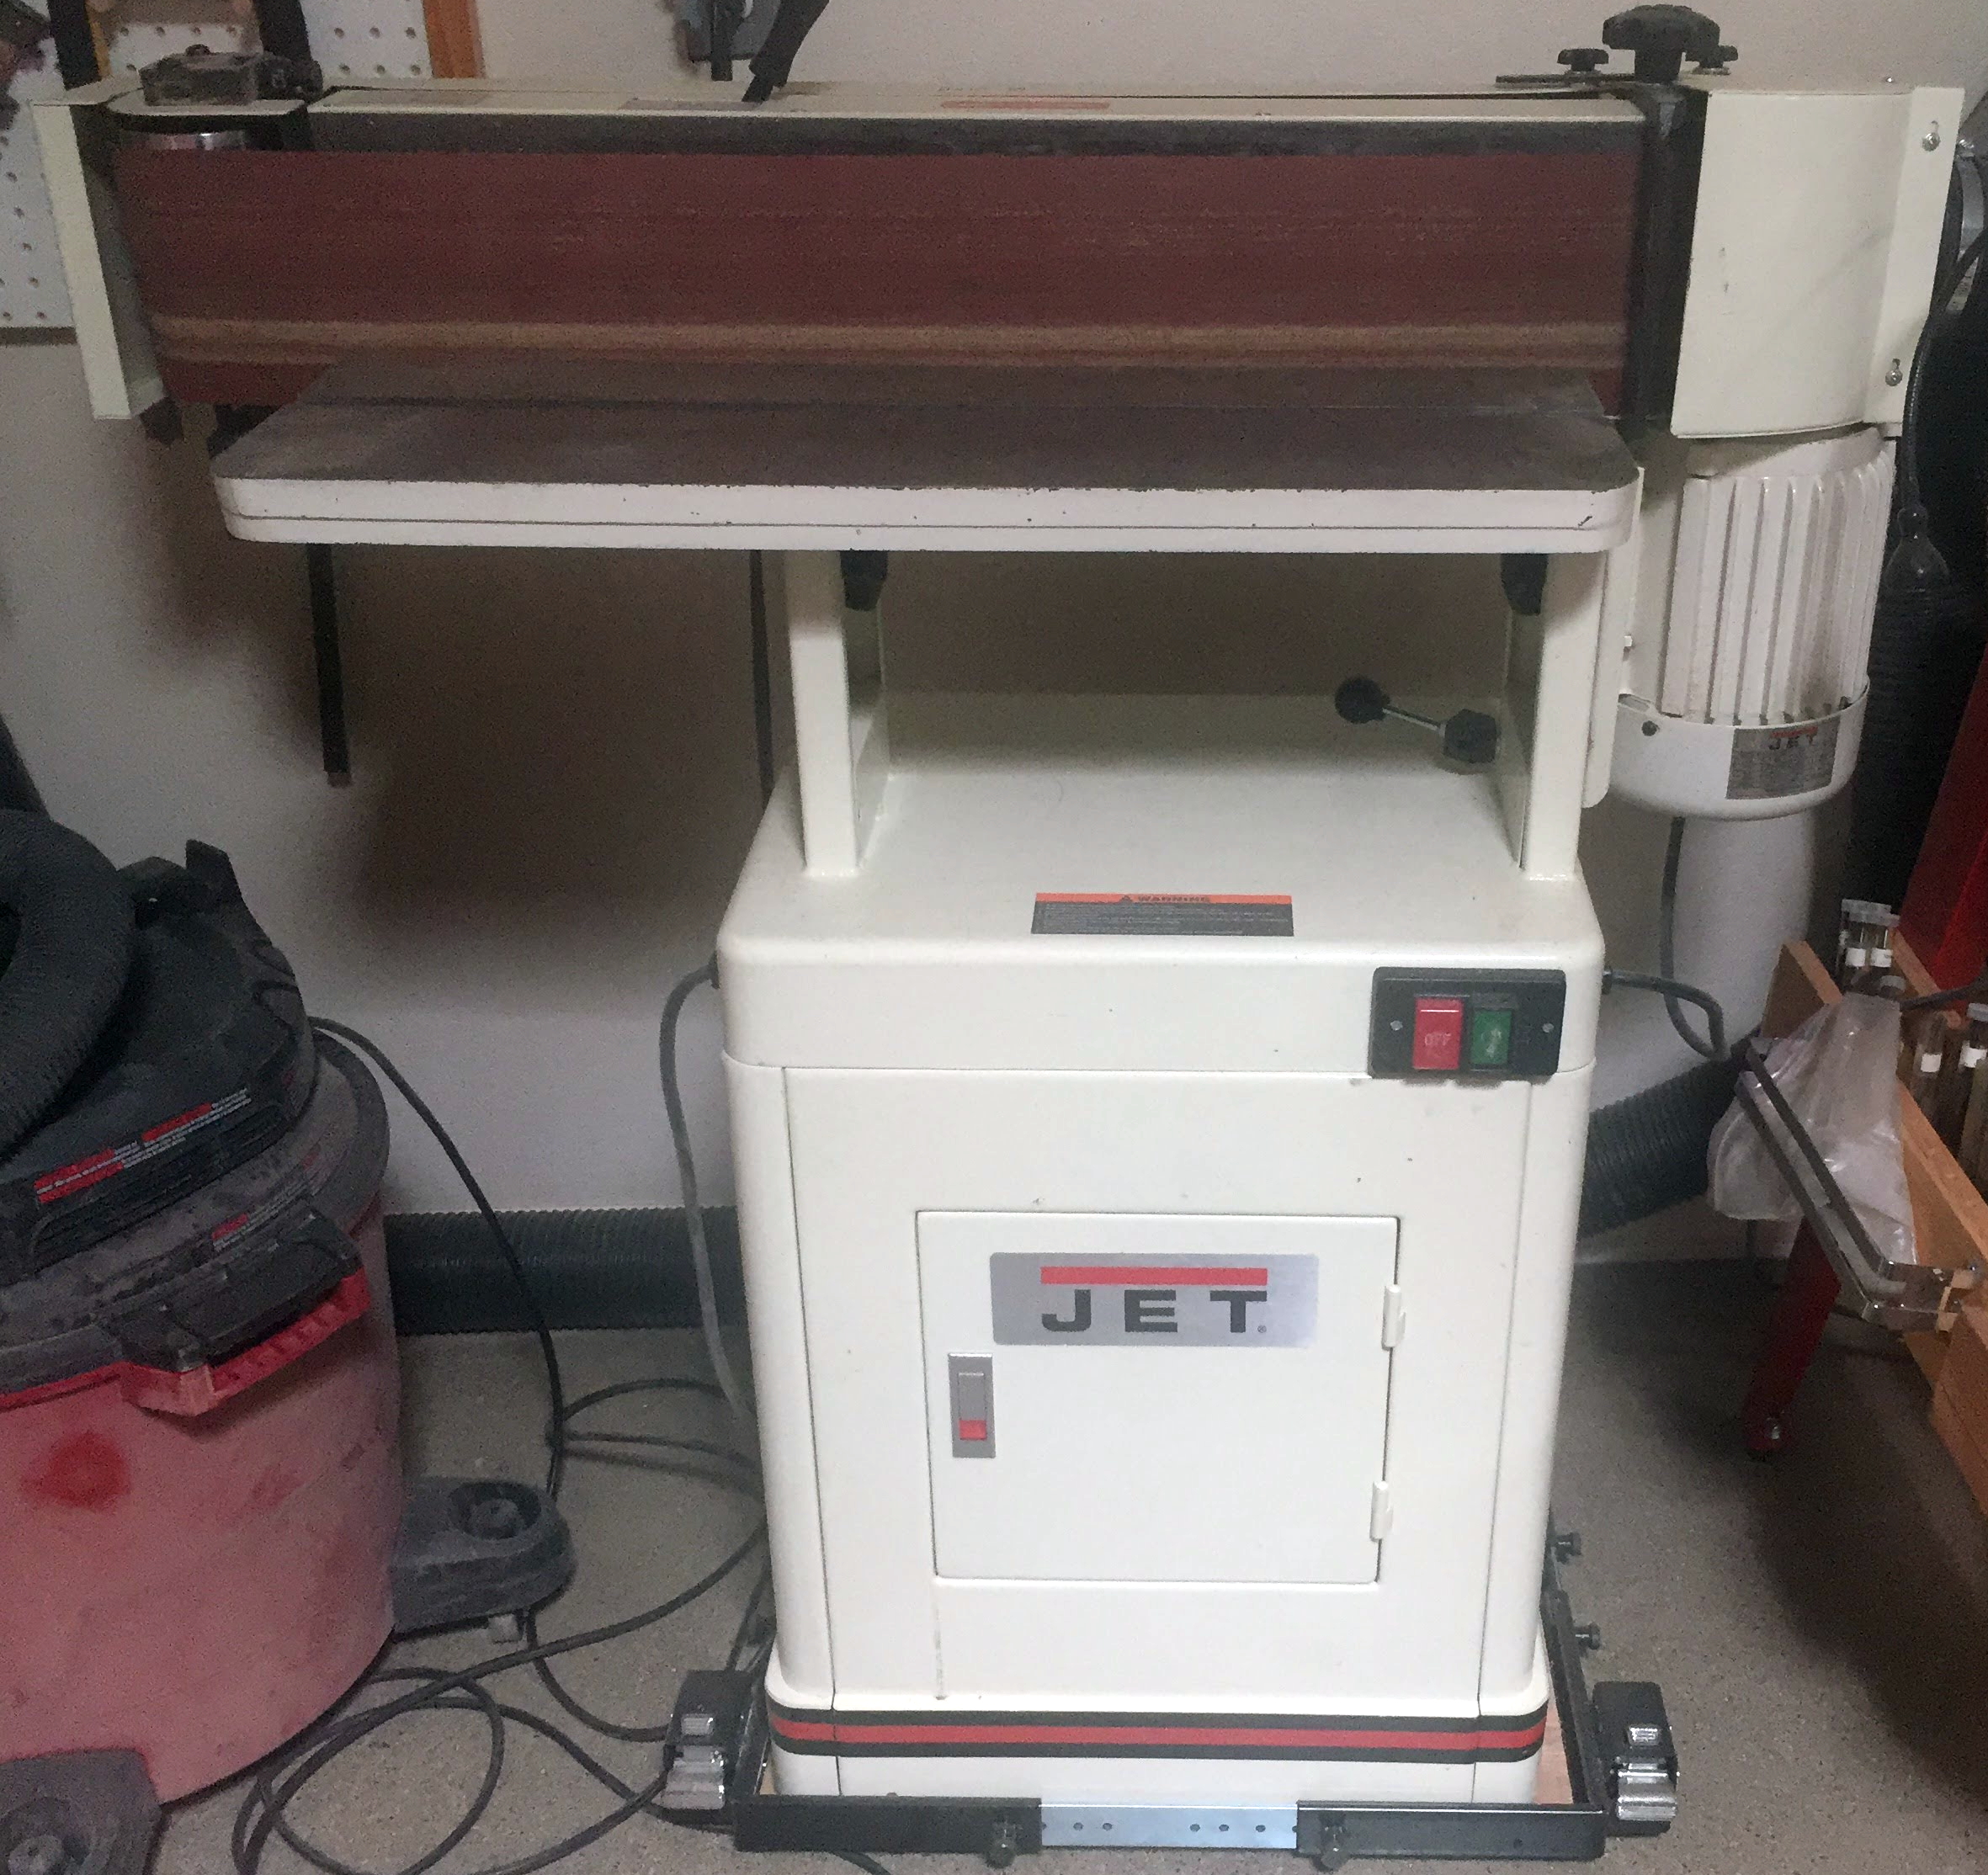
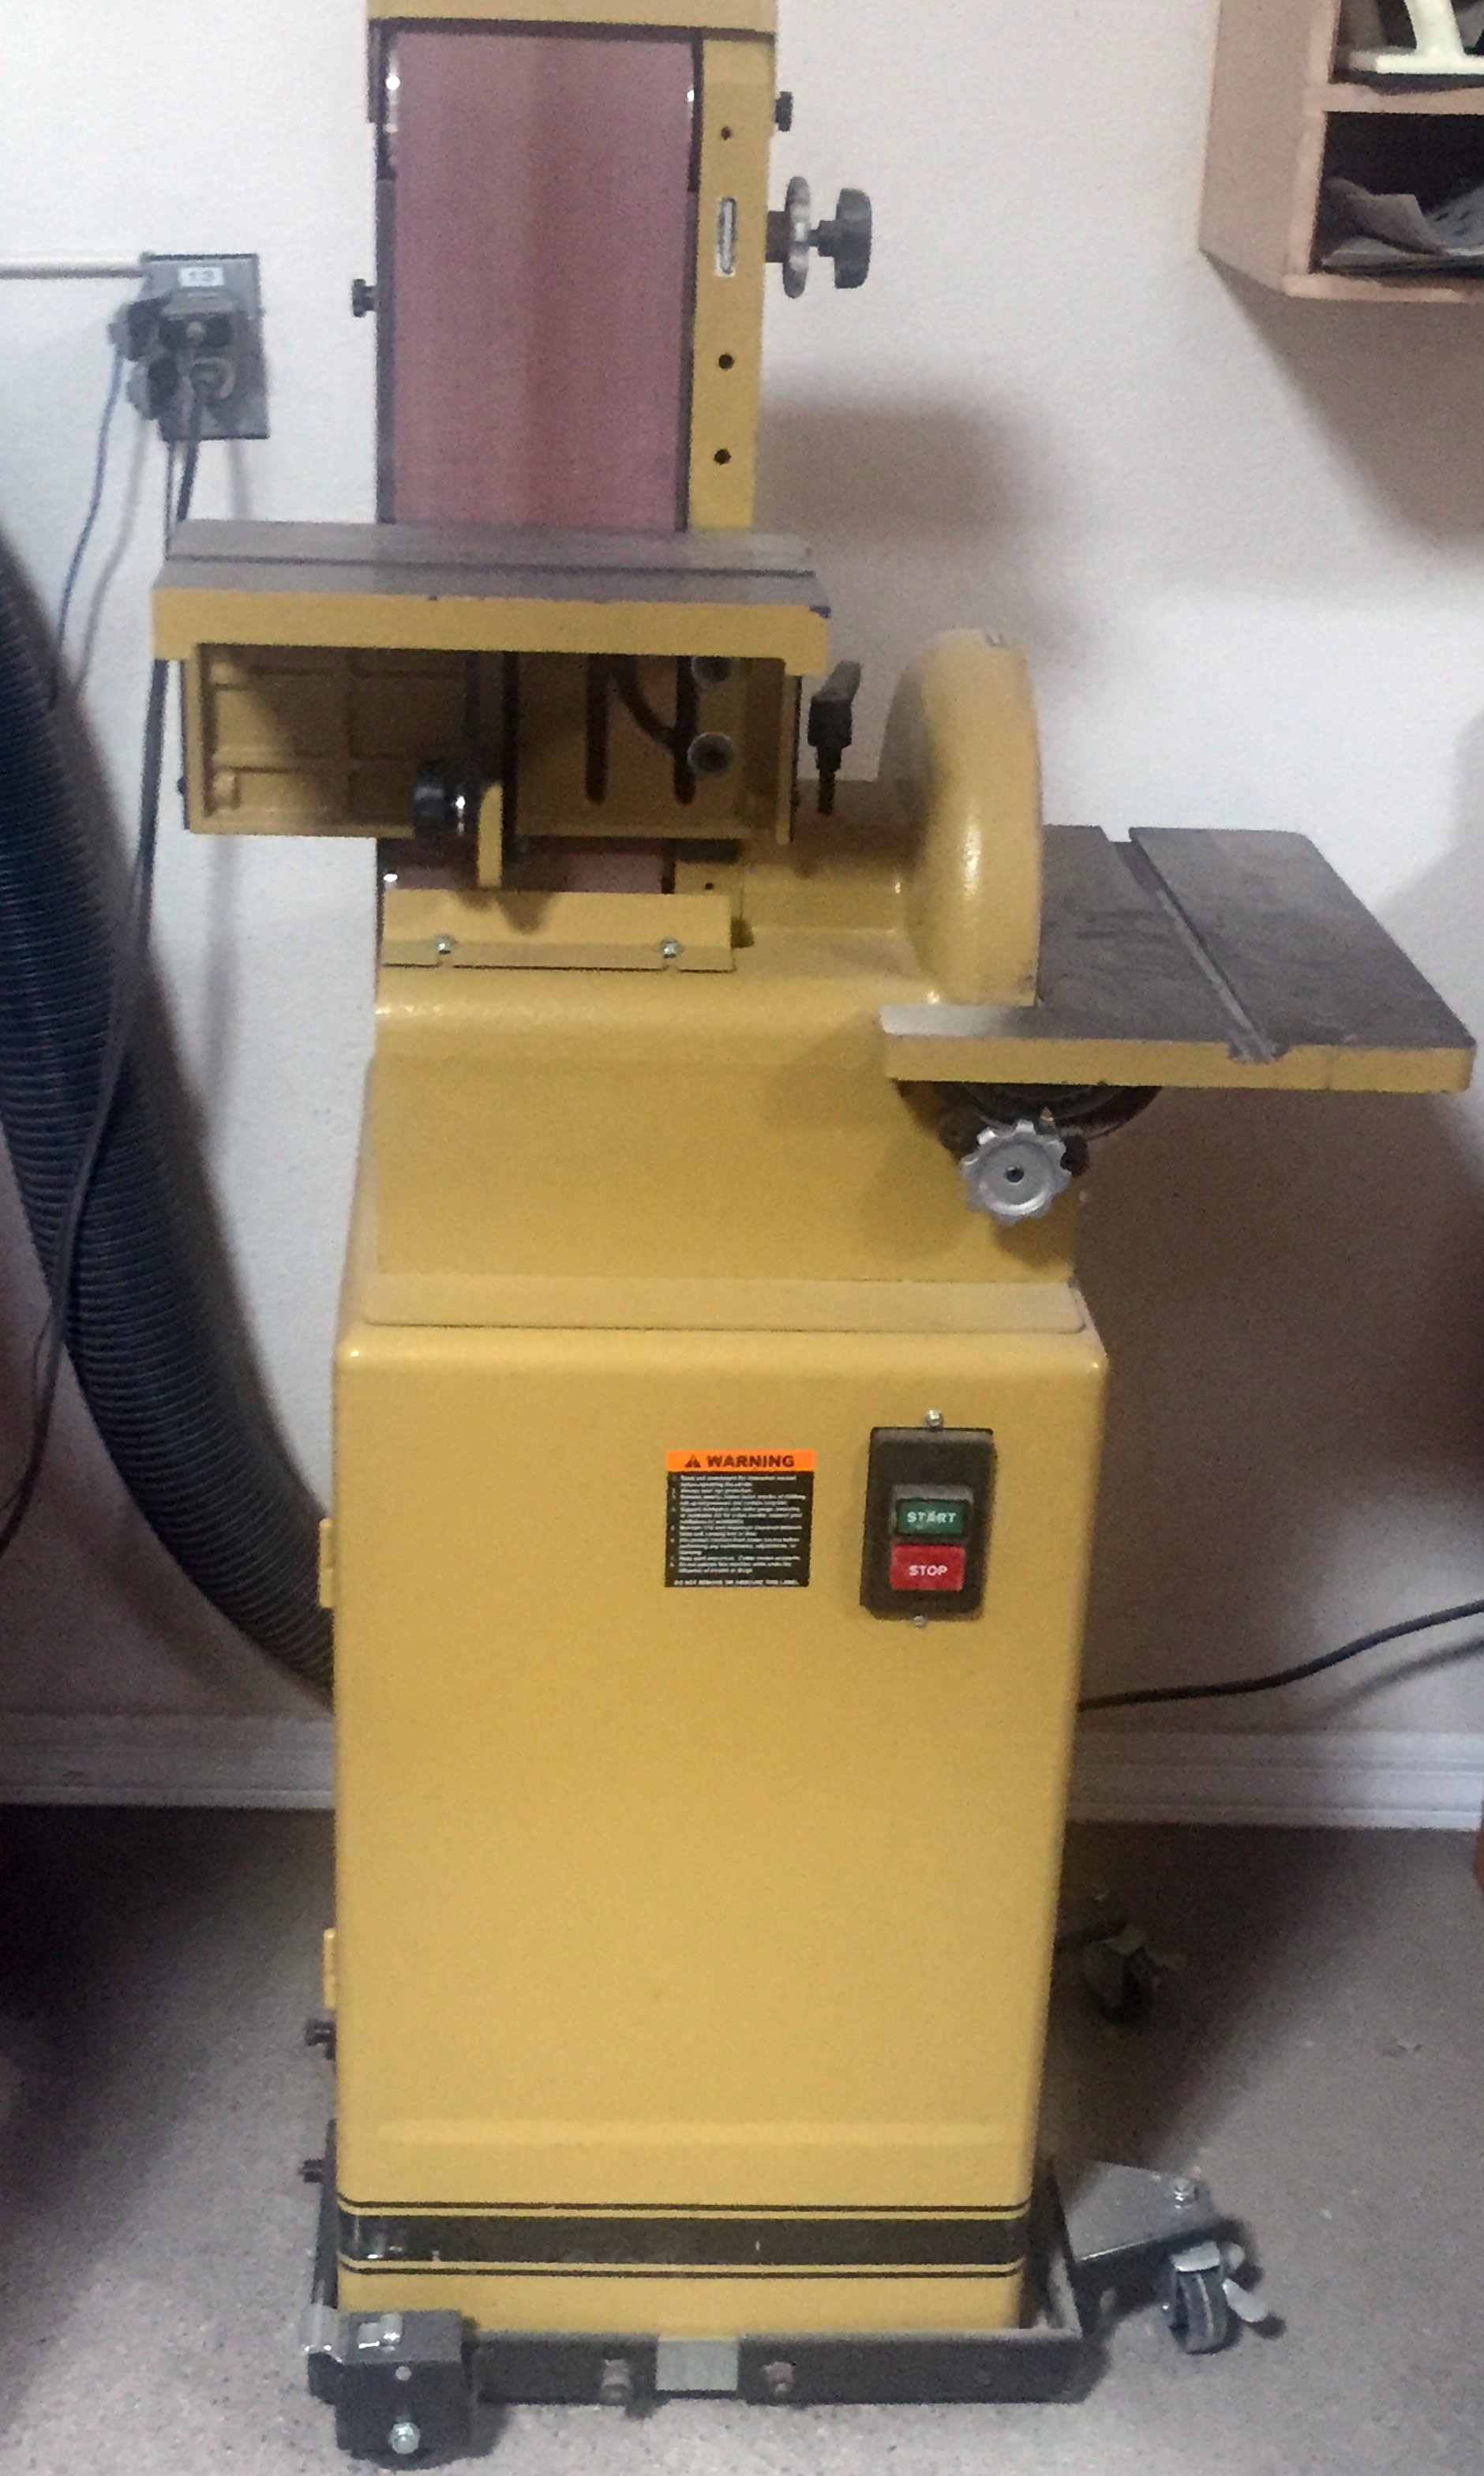
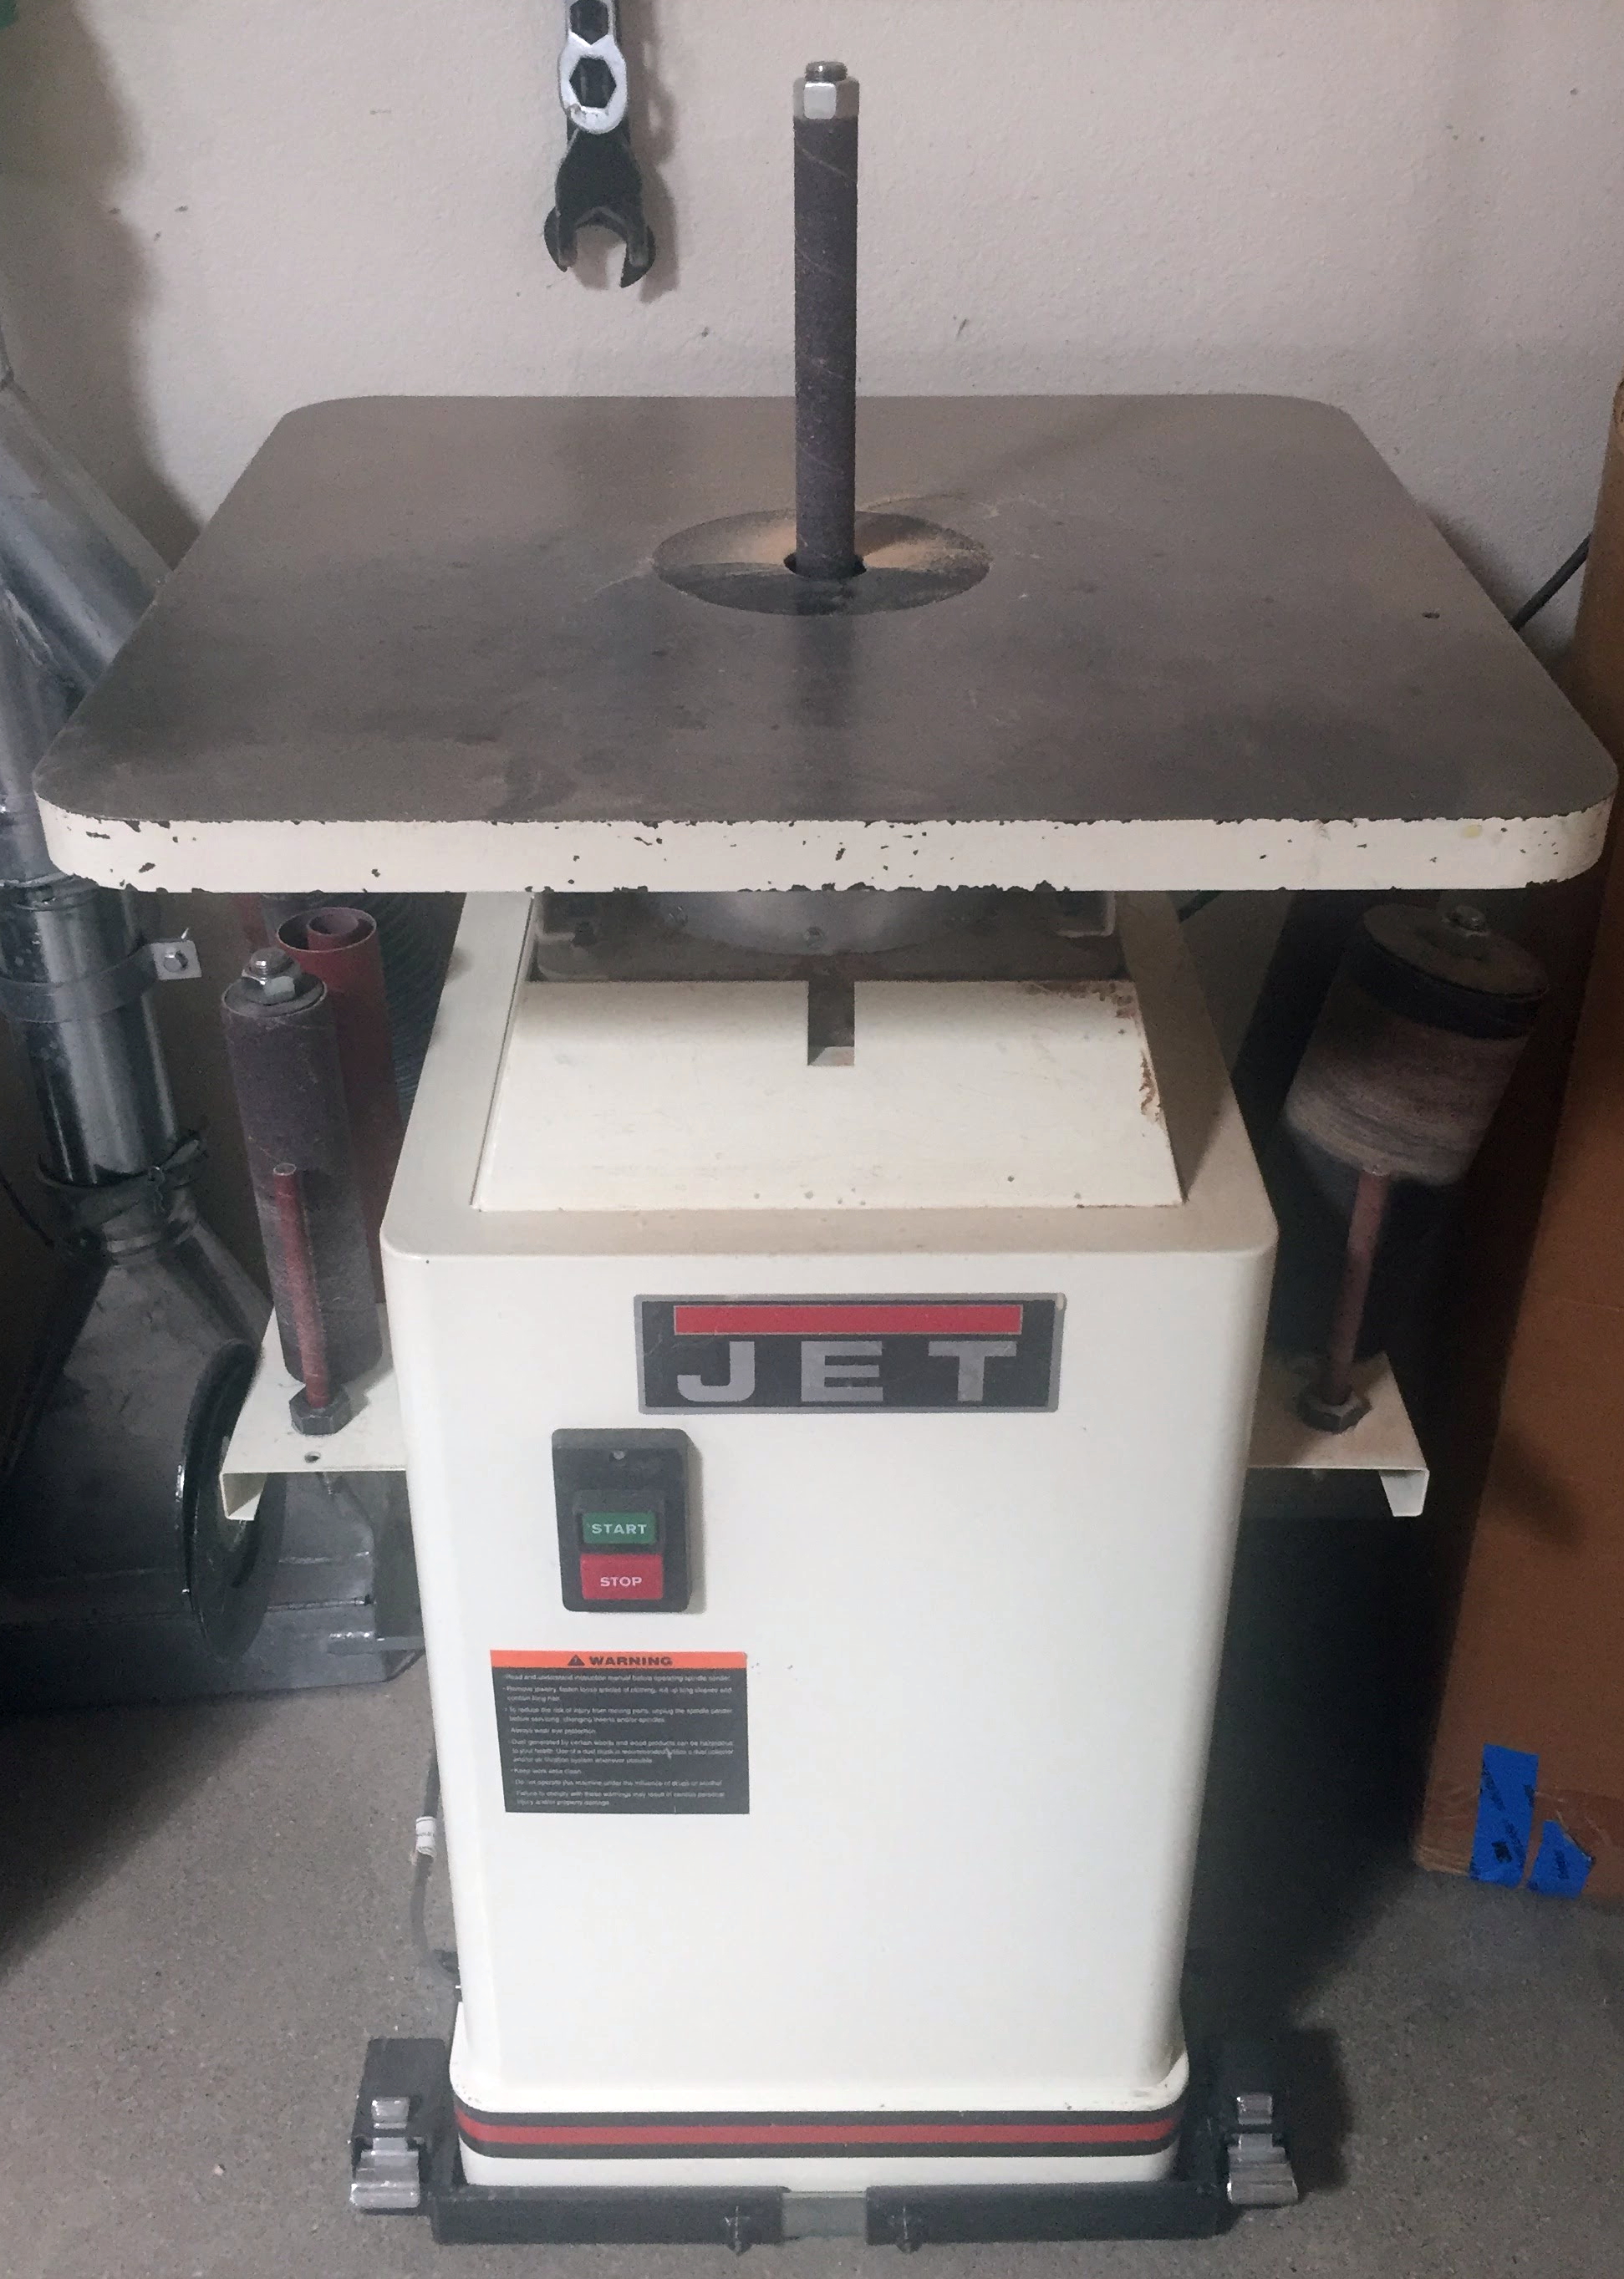
Sanders shape the work piece by bringing it into contact with a rotating abrasive wheel, disk, or belt. The drums, disks, or belts are faced with abrasive materials. Sanders are equipped with a work rest. A properly adjusted rest will provide the minimum clearance between the abrasive and the work piece. The rest acts as a guide for the work piece. It also is support for the work.
Sanders have a guard affixed over all moving parts to prevent hands from getting caught in the machine. Shields are attached to the sander as added protection against sparking and dust. Using light pressure to press the material against the wheel will get the best results.
The two most common injuries associated with any sander are sawdust or grit thrown into an unprotected eye and finger shaving. Eye irritation is the direct result of all the sawdust that is produced by the machine. Eye protection must be worn. The shield on the sander helps contain the dust, but it cannot be your only protection. Because the abrasive belt shapes or smooth a work piece by many, rapid cuts of the abrasive grit, it is very possible that the machine will do the same thing to a finger that accidentally touches it. An operator should not allow his fingers to get close to the abrasive.
More dangerous than the more common injuries are incidents where the workpiece gets away from the operator and is thrown by the sander. Serious injuries are a real potential in these situations. Be sure to always keep a firm grip on the workpiece, and use a light touch in sanding.
- Inspect abrasive belts before using them. Contact a Woodshop Monitor if you find a belt with a tear, fray, or any excessive wear.
- Small or irregular shaped work pieces should not be held in your hand while sanding. They should be held by a jig or other holding device.
- When using the sander, you should point the sharp edges of your work towards the trailing edge of the sanding belt.
- When sanding short pieces of stock on the belt sander, you should use the backstop.
- Stop the machine when adjusting tool rest, shields, wheels or belts.
- No metals are to be sanded, without prior approval from a Woodshop Monitor and without first shutting off the blast gate to the dust collection system. Metal sparks and hot flakes can start a fire or explosion in the dust collection system. Sanding of ferrous metal is expressly forbidden in the SVE Woodshop.
- Remove or fasten all loose articles of clothing.
- Remove all jewelry such as watches, rings, and necklaces.
- Wear eye protection; do NOT wear gloves.
- Remove jammed pieces of stock only when machine is stopped.
- Bring sanding belt or disk to a complete stop before walking away.
- Clean the machine and the floor when finished.
COMPOUND MITER SAWS
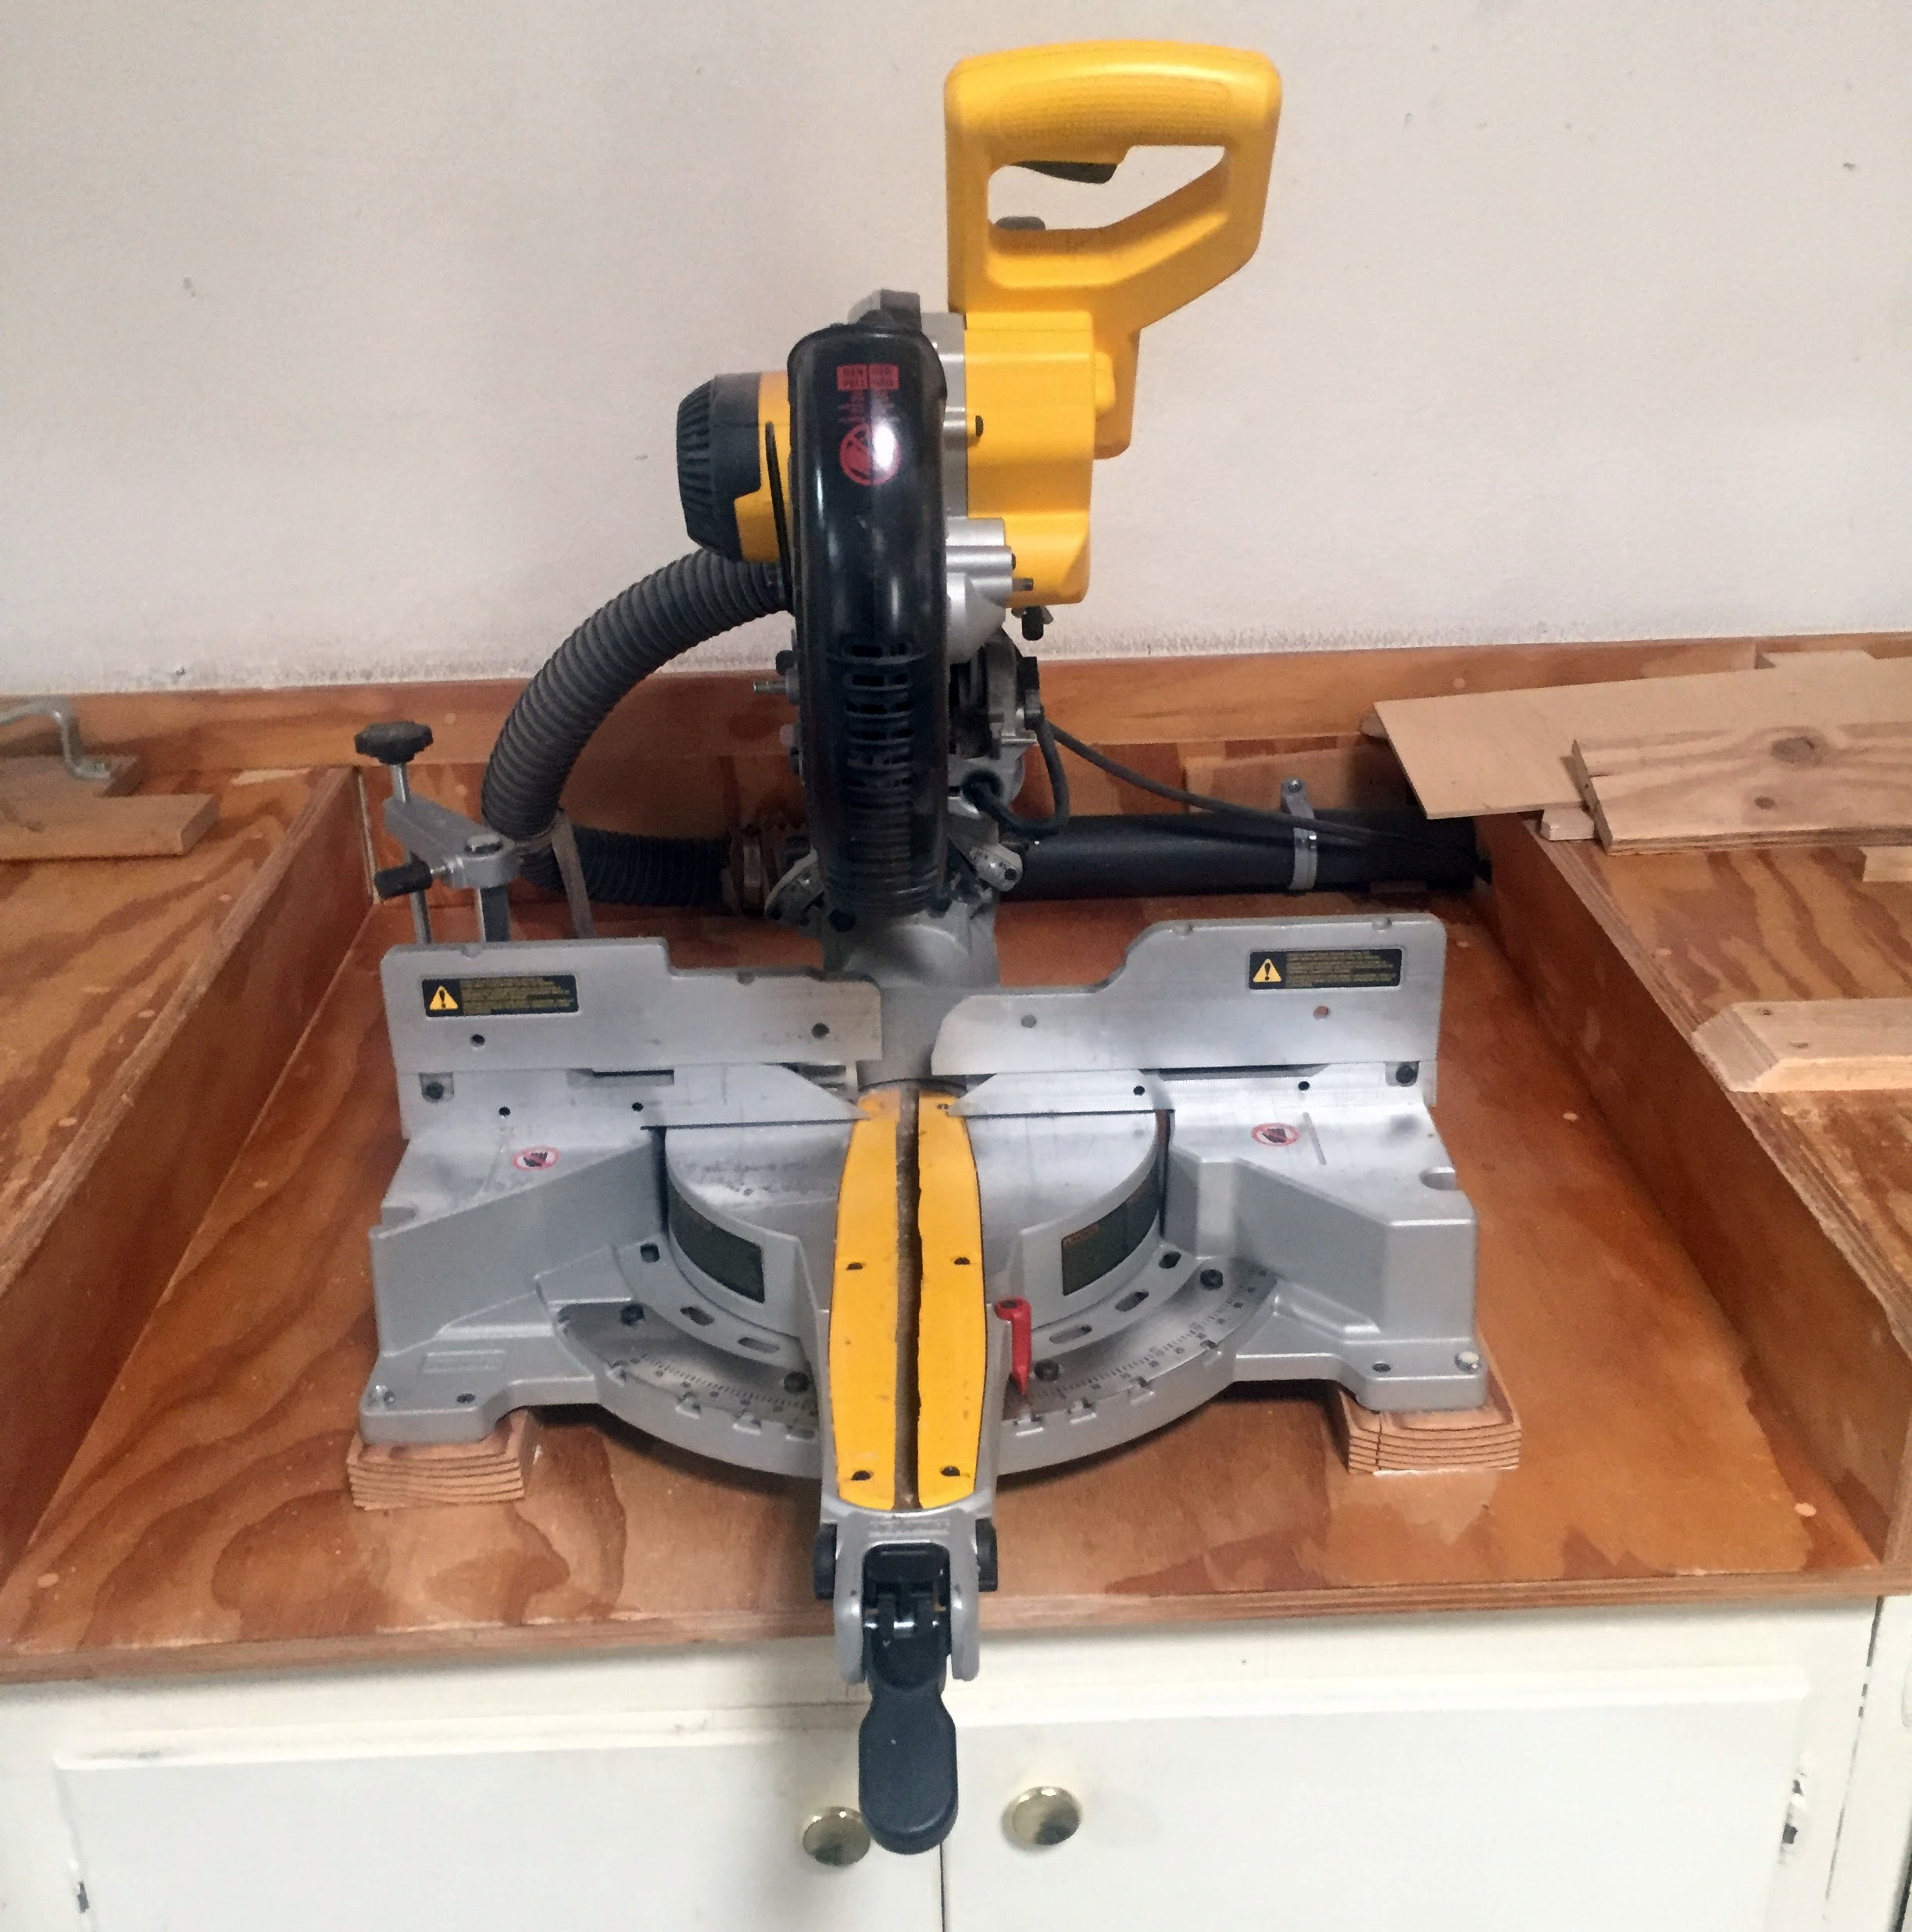
The compound miter saw, sometimes called a chop saw, excels at making clean, smooth and accurate cross-cuts. It can be used to cut material to finish length as well as rough cutting lumber into short pieces for further operations. It is normally used to make precision 90° cuts, but can be set to both miter and bevel cuts from 0 to 45°.
As useful as this tool is, it can also be dangerous. Kickback and violent and sudden "climbing" of the blade toward the user are common for inexperienced users. Small cutoffs can be violently ejected unless one uses a zero clearance backer board.
- Never remove or hold the guards out of the way while using the miter saw.
- Be sure all scraps have been removed from around the blade before using saw.
- Never allow your hands or fingers closer than 6 inches.
- Never cut any material shorter than 8 inches without a zero clearance backer board.
- Always place material against fence, never attempt to cut anything without material firmly held in place.
- Allow the blade to reach full speed before attempting to cut.
- Always pull the saw out to match the width of the material being cut before initiating cut. As the cut is being made, push saw back, this maintains control of saw and helps to prevent the saw climbing towards the user.
- You should almost always hold the material with your left hand and control the saw with your right.
- If you have to cut curved material, place material with curve facing out so that the blade doesn’t bind during cut.
- Be sure to use a blade designed for the miter saw. Never attempt to rip material on the chop saw.
- Never change a blade without first unplugging the saw.
JOINTER
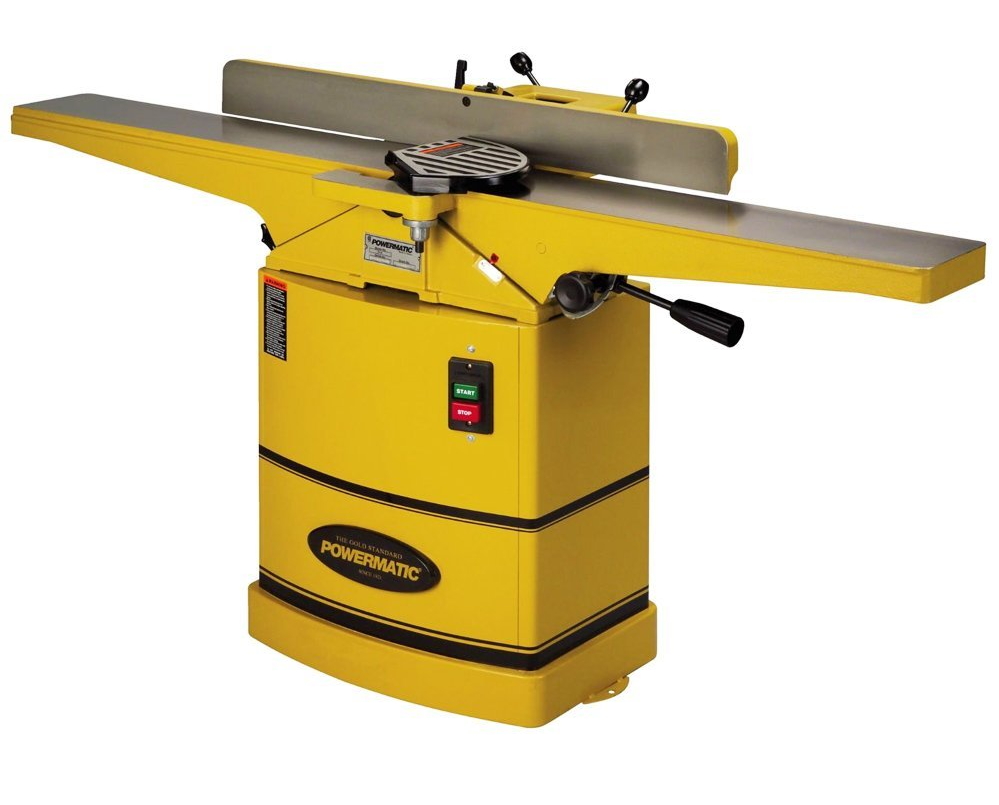
The jointer is primarily used for flattening one face of a board and for straightening and squaring the edges of boards to be glued together to form panels. In special circumstances, it may also be used for rabbeting, beveling and tapering, but again, a shaper or router might be better choices. The stock is placed on the in-feed table and pushed, with the aid of a push block, over the cutter head and onto the out-feed table. The fence is used to help guide the stock. With proper technique and a few passes, the downward face becomes flat, but the top face is unaffected. The planer must be used after the jointer to shape the upper face flat and parallel to the bottom face.
- Remember the jointer will severely injure any body part that touches the blades or cutterhead. Kickback is also a concern when using the jointer. Slow, steady feed speed and a thin depth of cut are ways to minimize kickback.
- Always position stock with bow facing down to achieve the desired results.
-
Always orient stock so that chips are formed ‘with the grain’. To cut "with the grain", the grain angle of the material must be angled toward the operator and down. If you don’t understand this, ask.

- Never attempt to pass material in the reverse direction (starting on the outfeed table). This will result in kickback and you will lose control of the stock.
- Do not remove guard over the cutterhead and always allow it to return against the fence before making the next cut.
- The maximum depth of cut is 1/16 inch; never force, or over feed the jointer by taking too thick of a cut. Final passes should be no more than 1/32 inch. Depth of cut is adjusted by raising or lowering the in-feed table. Removing stock in two passes instead of one will result in a smoother and safer operation.
- Do not attempt to joint stock shorter than 12 inches.
- Do not joint end grain.
- Always keep your fingers at least 6 inches from cutterhead, always position hands so that if material is ejected, your hands don’t move off the stock and into the cutterhead.
- Always use push blocks for flattening stock; however do not put undue pressure near the middle for the stock. This will result in stock not becoming flat during jointing.
- To achieve a square edge, the fence must be positioned square to the table and the stock must be held against the fence during the cut.
- Never attempt to joint stock wider than the width of the cutterhead.
- Never adjust the out-feed table. The out-feed table must remain exactly level with the knives of the cutterhead.
- Never clean lodged chips while the machine is running. Always be sure the cutterhead has completely stopped before reaching up into the machine or using a stick to clean out the machine.
- Always maintain a proper stance when using the jointer. A proper stance allows the operator to move the material across the jointer in a smooth, fluid motion. Sometimes the operator will have to take a few steps forward when jointing long stock. The operator must always stand to the left of the material to avoid contact with stock during a kickback.
PLANER
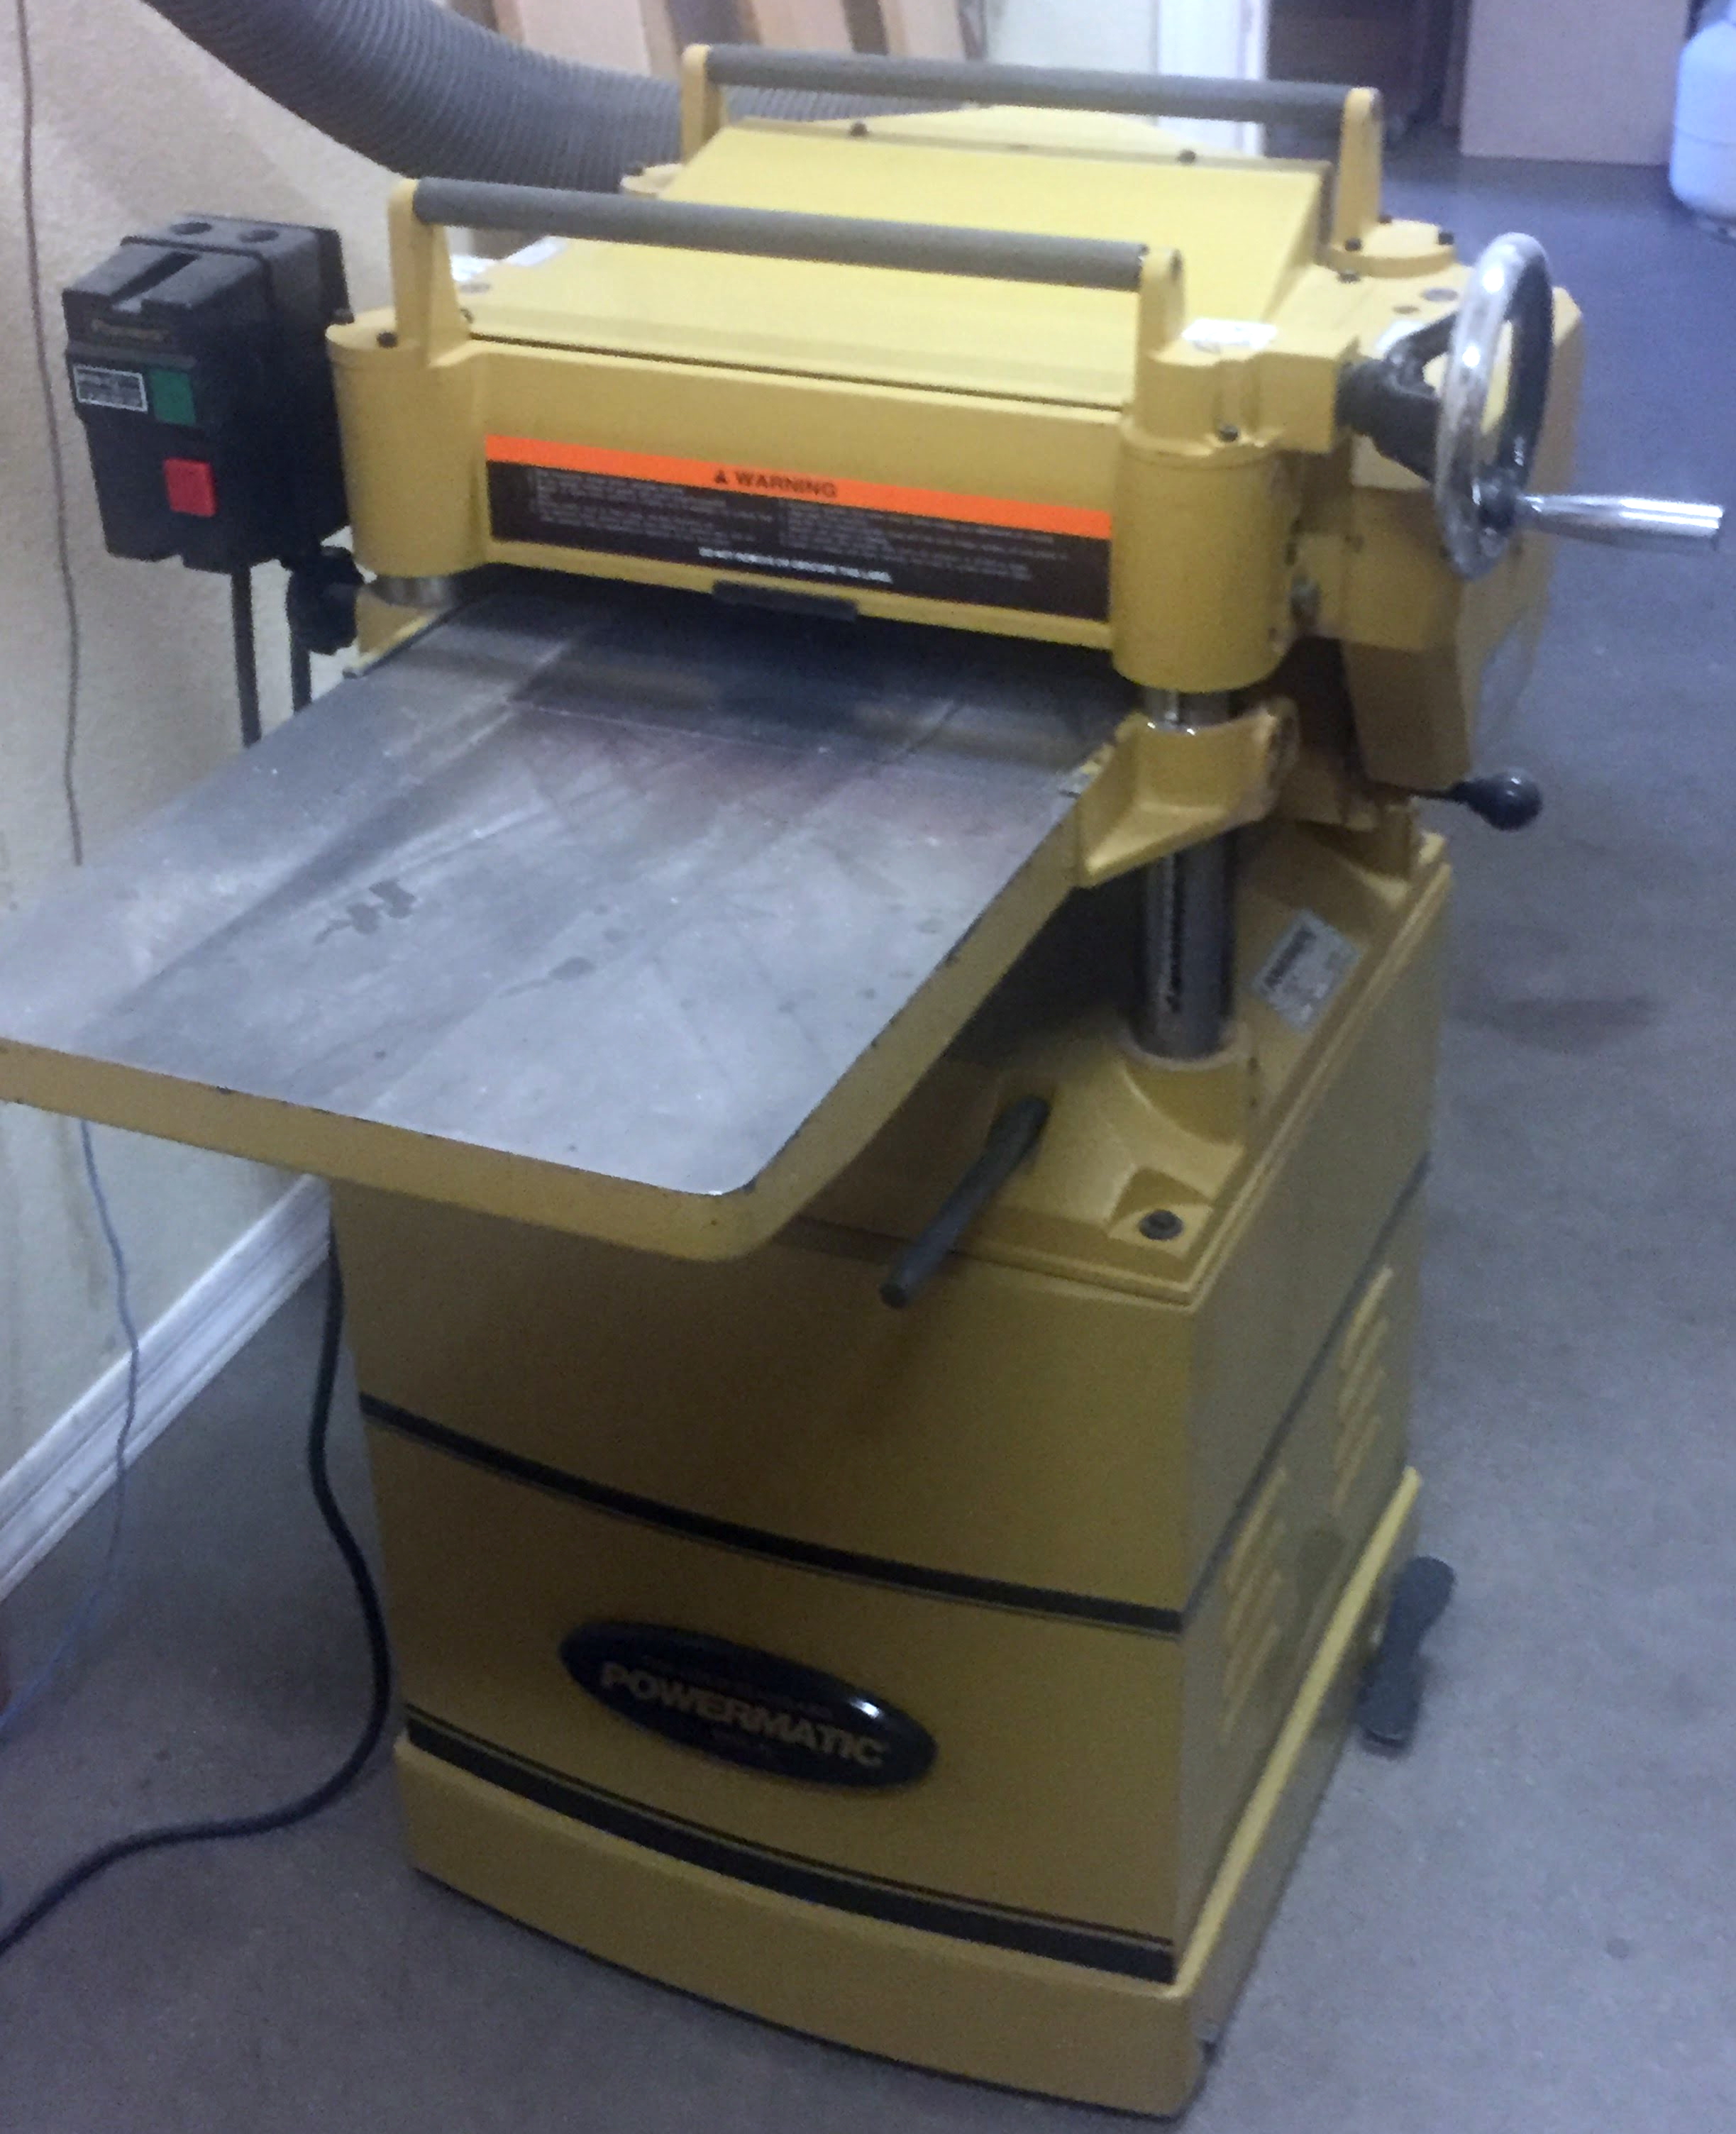
The planer is used to produce lumber with two parallel surfaces and to reduce the thickness or your lumber. The cutting tool on this equipment is held stationary, but rotating at rapid speed, while the work piece is moved across it. The machine is equipped with a horizontal, helical cutter head composed of many square carbide cutters held in place individually by a machine screw.
- Absolutely no recycled or painted wood is to be planed, due to the chances of sand, dirt, stones, nails, staples, or screws being hidden in the wood. Not only will these foreign objects ruin the cutter blades, but they can also cause sparks that can get into the dust collection system and cause a fire or explosion. Clear varnished wood can be planed if the Monitor in charge examines the boards and declares them free of metal.
- Always open the gate for dust collection to extract chips while using planer.
- Be careful not to let your fingers become pinched between stock and infeed table.
- Always determine the thickness of the thickest part of the board and adjust planer to match this thickness.
- Do not attempt to pass stock less than 12 inches in length through the planer.
- Always make cuts with the grain.
- It is far better to make several passes then try to hog it all in one pass. Do not attempt to remove more than 1/16” per pass (one turn). Do not over load the motor. Multiple passes result in less tear-out and are easier on the machine.
- Never put hands or fingers into planer while the cutterhead is moving.
- Never look into planer.
- Never attempt to force feed the planer; always allow stock to move through under the force of the feed roller only. If stock gets stuck, push slightly on the stock, move the stock to an angle or lower table. Never stop planer while stock is in the planer. If this happens often, wax the table or ask a Woodshop Monitor to do it.
- Always plane with the grain, never perpendicular to grain; i.e., only feed boards lengthwise never cross grain (width-wise).
- Never attempt to reverse feed stock.
DRILL PRESSES
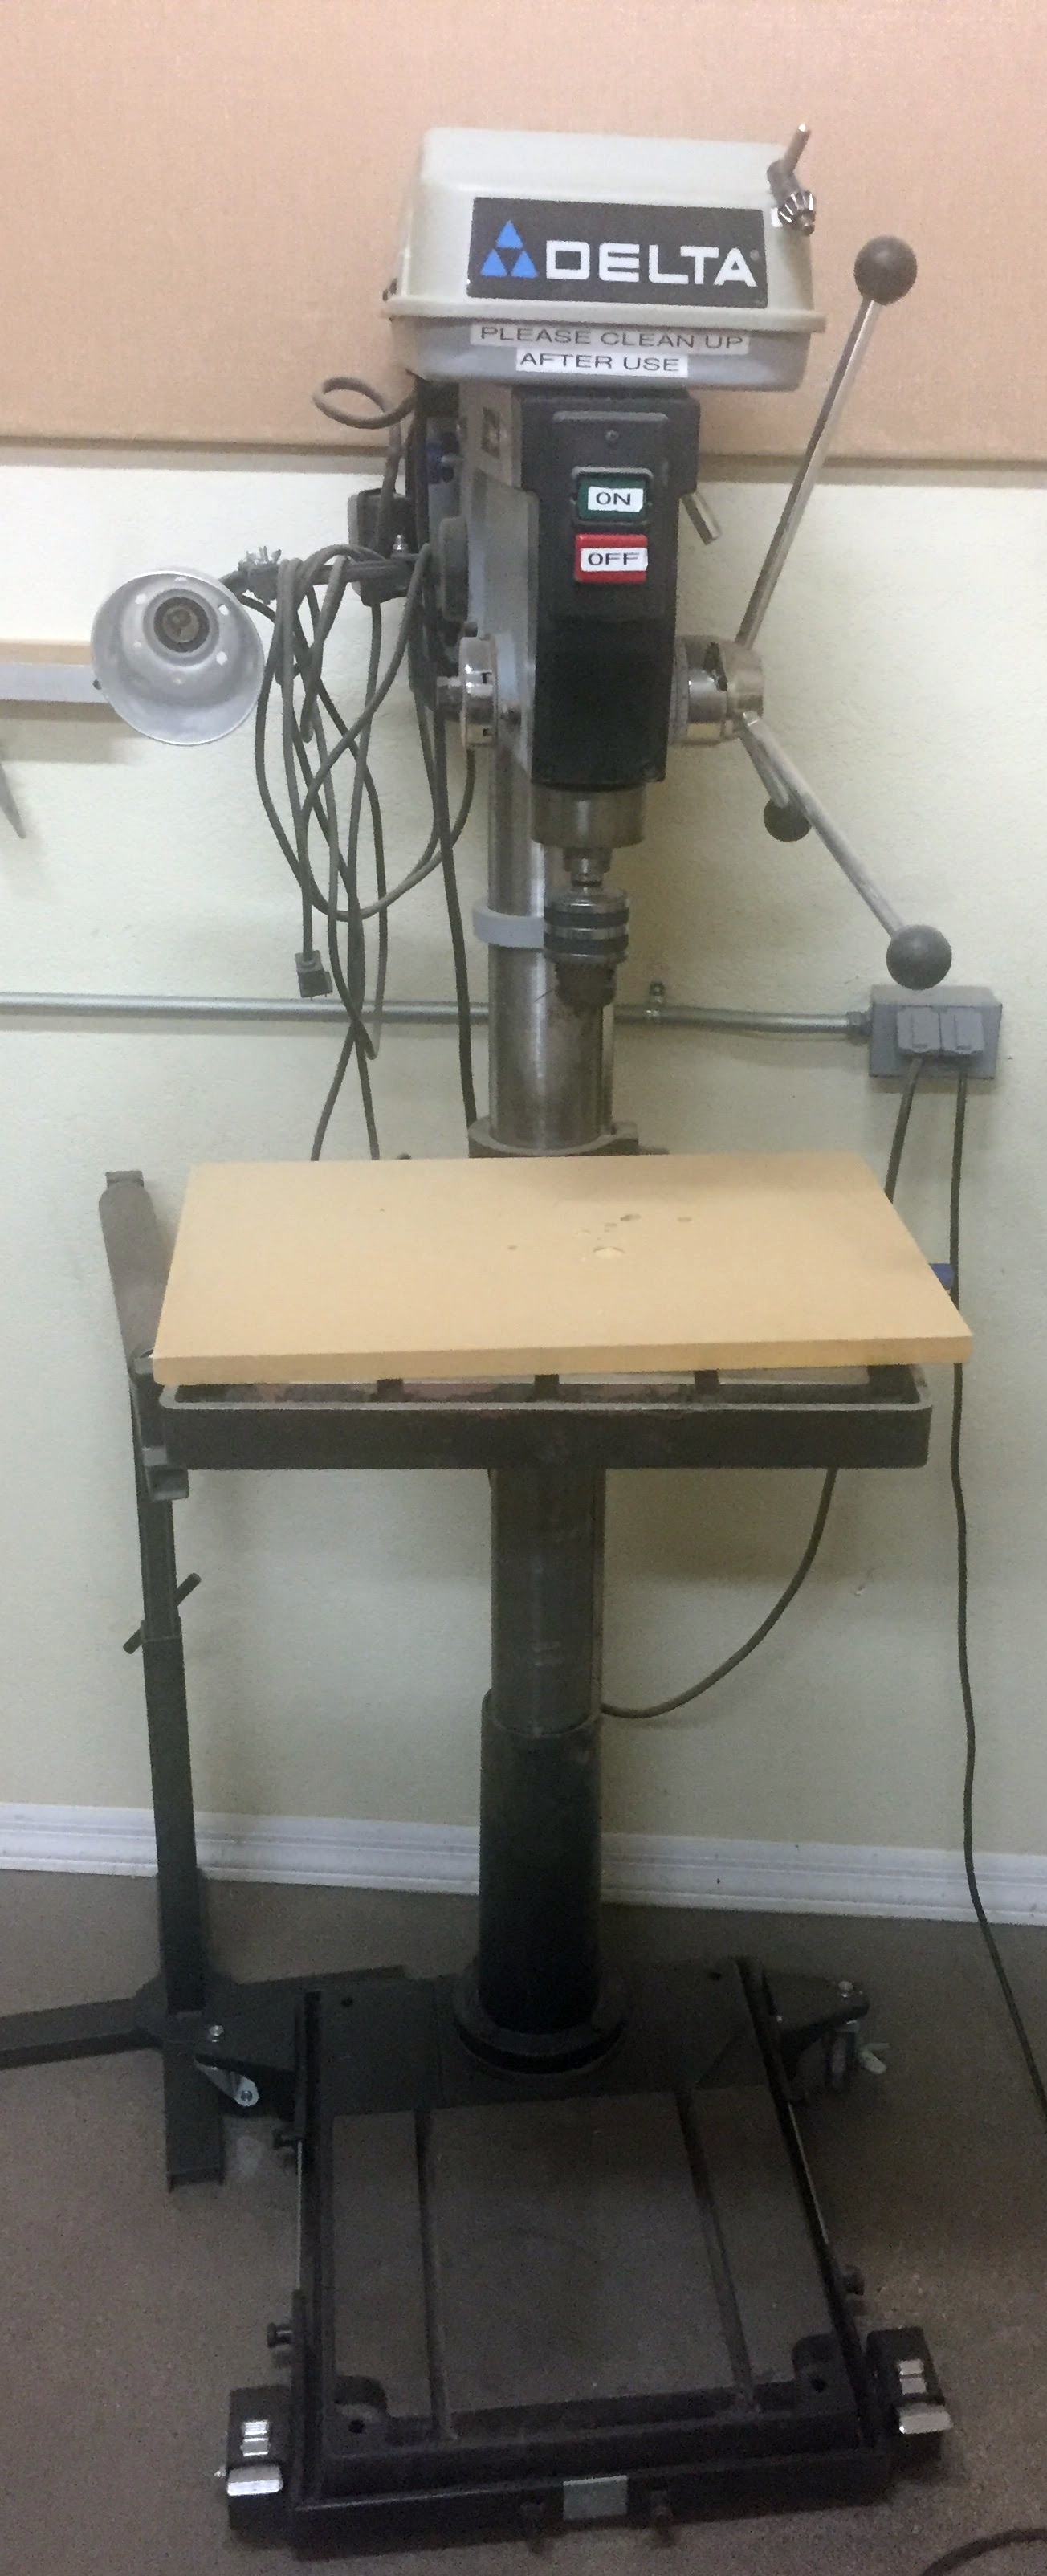
The drill press comes in a floor or bench-mounted model. It has a motor driven head that has a chuck that accepts bits or cutters. It also has an adjustable table on which the work is mounted. It is operated by pulling a rotary lever which lowers the drill bit into the material.
To avoid accidents, the following operational safety rules must be observed by everyone working on a drill press.
- A two foot perimeter around the drill press should be kept clear of people, debris and sawdust that impair traction or footing to avoid slips and falls.
- Safety glasses with side shields or a face shield must be worn.
- Remove loose fitting clothing, jewelry, and tie back long hair.
- Give the work your undivided attention.
- Do not wear gloves or anything that would allow a hand, fingers or clothing to be wrapped around the revolving bit.
- Make all drill press adjustments with the power shut off.
- Keep all guards and covers on the machine when it is on and running.
- Make sure the size of the bit is equal to or less than the capacity of the drill press.
- Do not exceed the recommended speeds for the type and size of drill bit being used or composition of the stock being drilled.
- Insert bit into drill chuck and tighten with the chuck key. Remove chuck key from the drill chuck before starting the drill press.
- Use a clamp or vise to securely fasten the stock to the drill press table if the stock is short. Never attempt to handhold short stock while drilling.
- Drill into cylindrical stock using a "V" block.
- Long stock should be drilled with the excess to the left of the operator. If the stock rotates it will hit the post, not the operator.
- Support the underside of the stock to be drilled with a backer board secured to the drill press table.
- Never start the machine without the table clear of everything except the stock you are drilling.
- Keep hands and fingers at least 3 inches from rotating drill bits.
- When drilling deep holes, frequently raise the drill bit from the hole to remove sawdust and cool the bit.
- When you begin to break through the underneath side of the stock, ease up on the feed as to not tear the wood from the underneath side.
- If a drill bit binds, turn off the drill press and carefully turn drill chuck backwards by hand to free the drill bit.
- Never reach around or under a rotating drill bit or grab the chuck to stop a drill press. This can result in hand puncture or other serious injury.
- Turn the drill press off before looking up or walking away from the machine.
- Never stop the rotation of the drill chuck, spindle, or stock rotating on bit with your hands or fingers.
- Don’t touch the drill bit immediately after drilling, as it could be hot.
- Always clean the drill press table and work area upon completion of the drilling task.
- Metals may be drilled only if a Monitor believes you are capable of drilling it and gives you permission.
- Do not use your hands or blow non-ferrous metal drill shavings off the drill press, use a bench brush.
SCROLL SAW
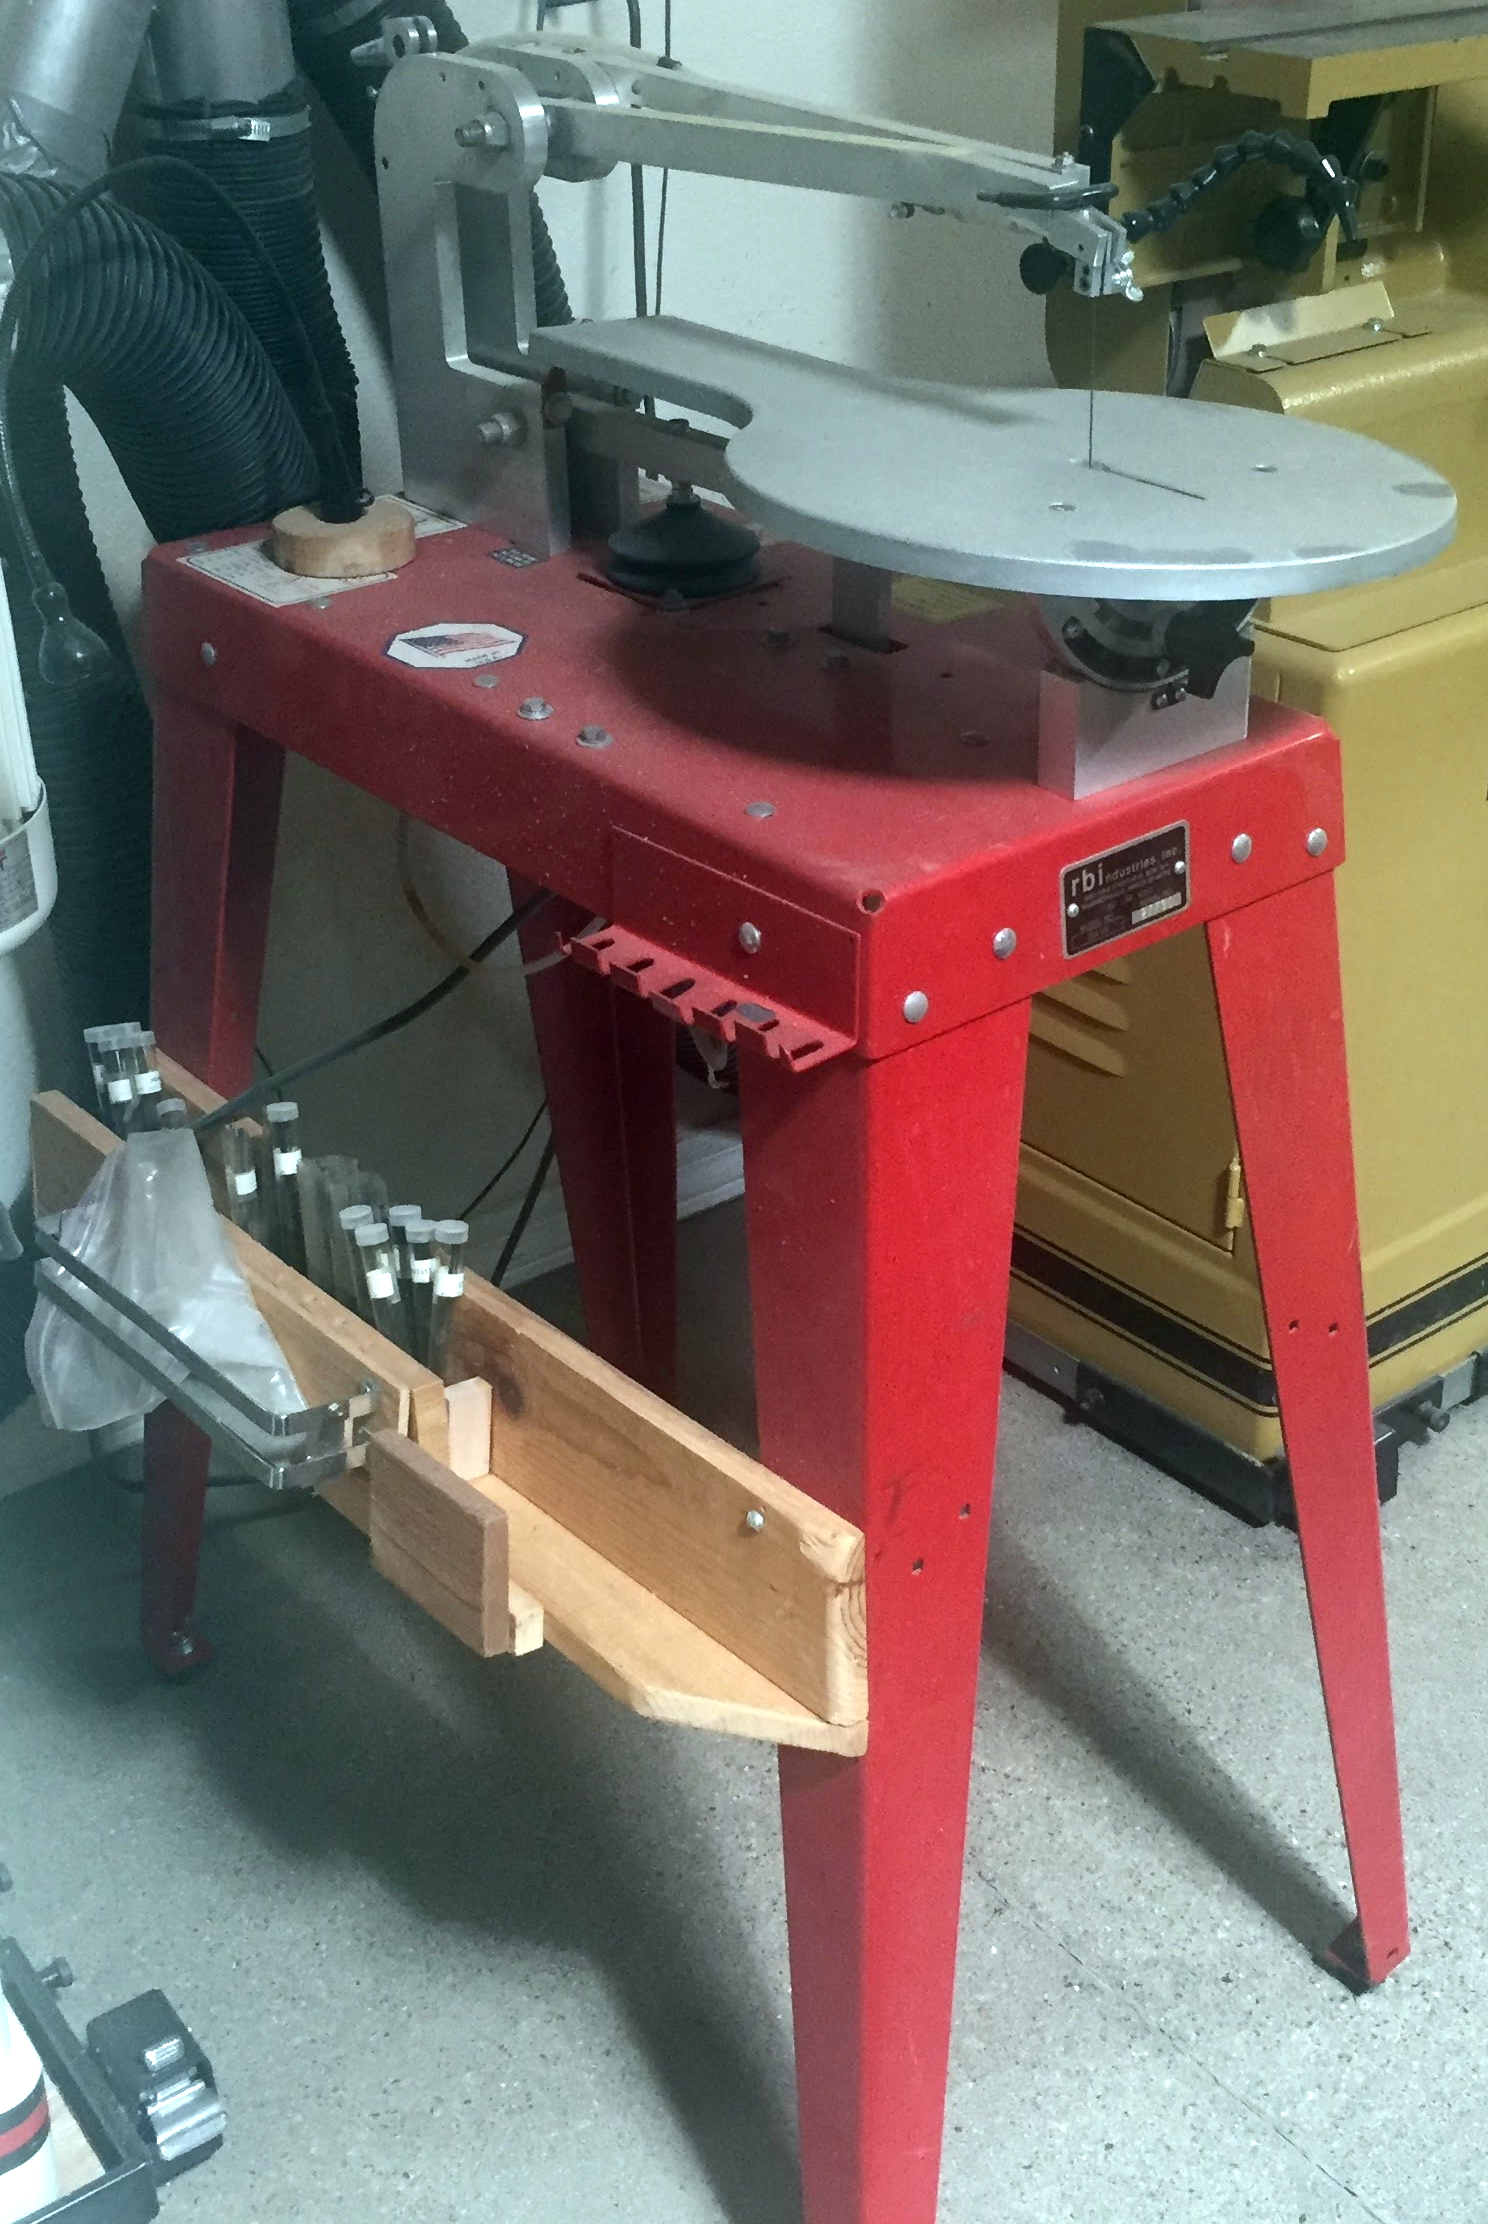
A scrollsaw is probably one of the safest woodworking power tools, but that doesn’t mean that you can be reckless in operating it. Be conscious of your safety as well as those of others around you so that you can finish your project without any hassles.
Hold Down clamp:
This is usually the first thing removed from a scrollsaw. The usual reason is that it can get in the way especially when working on small pieces. But remember it does serve a purpose. It helps ensure that you won’t slip the fingers into the blade. It is recommended that you leave it in place and lower it down as close to the wood as possible.
It does help in holding down your work. We understand that often it is more in the way then of real help, especially on small project, but that being said, recognize that it is also a great guard in making sure you don't slip your fingers into the blade, sooooo ... if you do remove it, make sure you recognize the extra care you must take, as you push your scroll wood through the machine.
Scroll Wood Selection:
Always use flat bottomed wood unless it is mounted in an appropriate jig. Cupped material will bind and be much more likely to snap the blade prematurely, putting your fingers in harms way.
Blades:
Always make sure the scroll saw is unplugged BEFORE attempting to change the blade. Install the blade with the teeth facing down! Use the best scroll saw blades for the job ... one with too few teeth in relationship to the thickness of the wood will jump around and offer little control. Use a stick to clear the path of the blade when creating small cuts off.
Cleaning the Machine:
Always make sure the scroll saw is unplugged BEFORE removing the covers and blowing the dust out of the wheels.
Relief Cuts:
In situations where the pattern asks for either a tight inside or outside cut it is always safer to make relief cuts before you start. Cut just before the pattern line, to avoid a notch in the finished path. This will allow you to break away wood as you go along and prevent binding the scroll saw blade.
Follow the Three Inch Rule:
Your fingers should stay at least three inches away from the path of the blade, because there is always a chance that the wood will "jump" if you are not careful.
This is one of the most important scroll safety rules you should remember as it can prevent you from getting nasty cuts.
If the work piece is so small that you can’t follow the three inch rule, then you should use a push stick instead. This would help you cut the work piece without putting your fingers in harm’s way.
Cutting Small Pieces:
When scrolling small pieces of wood, use rubber cement or hot melt glue to attach your wood to a piece of cardboard or thin plywood to allow you to cut without getting excessively close to the blade. The rubber cement is usually relatively easy to break the bond when you're done. It may take a little longer but fingers are irreplaceable.
Safety glasses:
Okay this is relaitve to scroll saws but also to all woodworking; you run the risk of dust or chips or particularly small knots flying out of the machine. Safety glasses are an essential tool in protecting your vision. Use them even when using a small tools like a scroll saw.
Clothing:
Again, this is a given in any woodworking environment. Don't wear any loose clothing that may get caught by the travel arm of the saw. Tie back long hair. Watch for jewelry. Use common sense.
Wood Toxicity:
Scrollsaws generate very fine dust. If your immune system is sensitive, various wood dusts can cause a skin and/or lung allergic reaction. Be aware of any special consideration for every type of wood. A number of persons have severe allergies to red cedar dust, so bad that they cannot be areound a new load of cedar. If you fit into this category, wear a good dust mask. Use the air filtration system in the Woodshop. Keep the floor vacuumed up as much as possible so any new movement in the air flow, will have little dust to move around.
- Be sure to hold the wood stock firmly against the table top.
- When cutting sharp curves, a slower pace is recommended to prevent the blade from twisting or breaking.
- If possible make relief cuts before cutting sharp curves.
- Apply tension on the blade according to the manufacturer's recommendations.
- Adjust the guides so they support the blade properly.
- Operate the saw by hand to make sure that the blade works properly before turning on the power.
- Never start the saw with the stock in contact with the blade.
- Apply a slow, even pressure when cutting. Never force the stock into the blade.
- If it is necessary to back out of a cut, always turn off the power first.
- Use a brush to keep the table top clean of wood blocks and sawdust.
GRINDERS
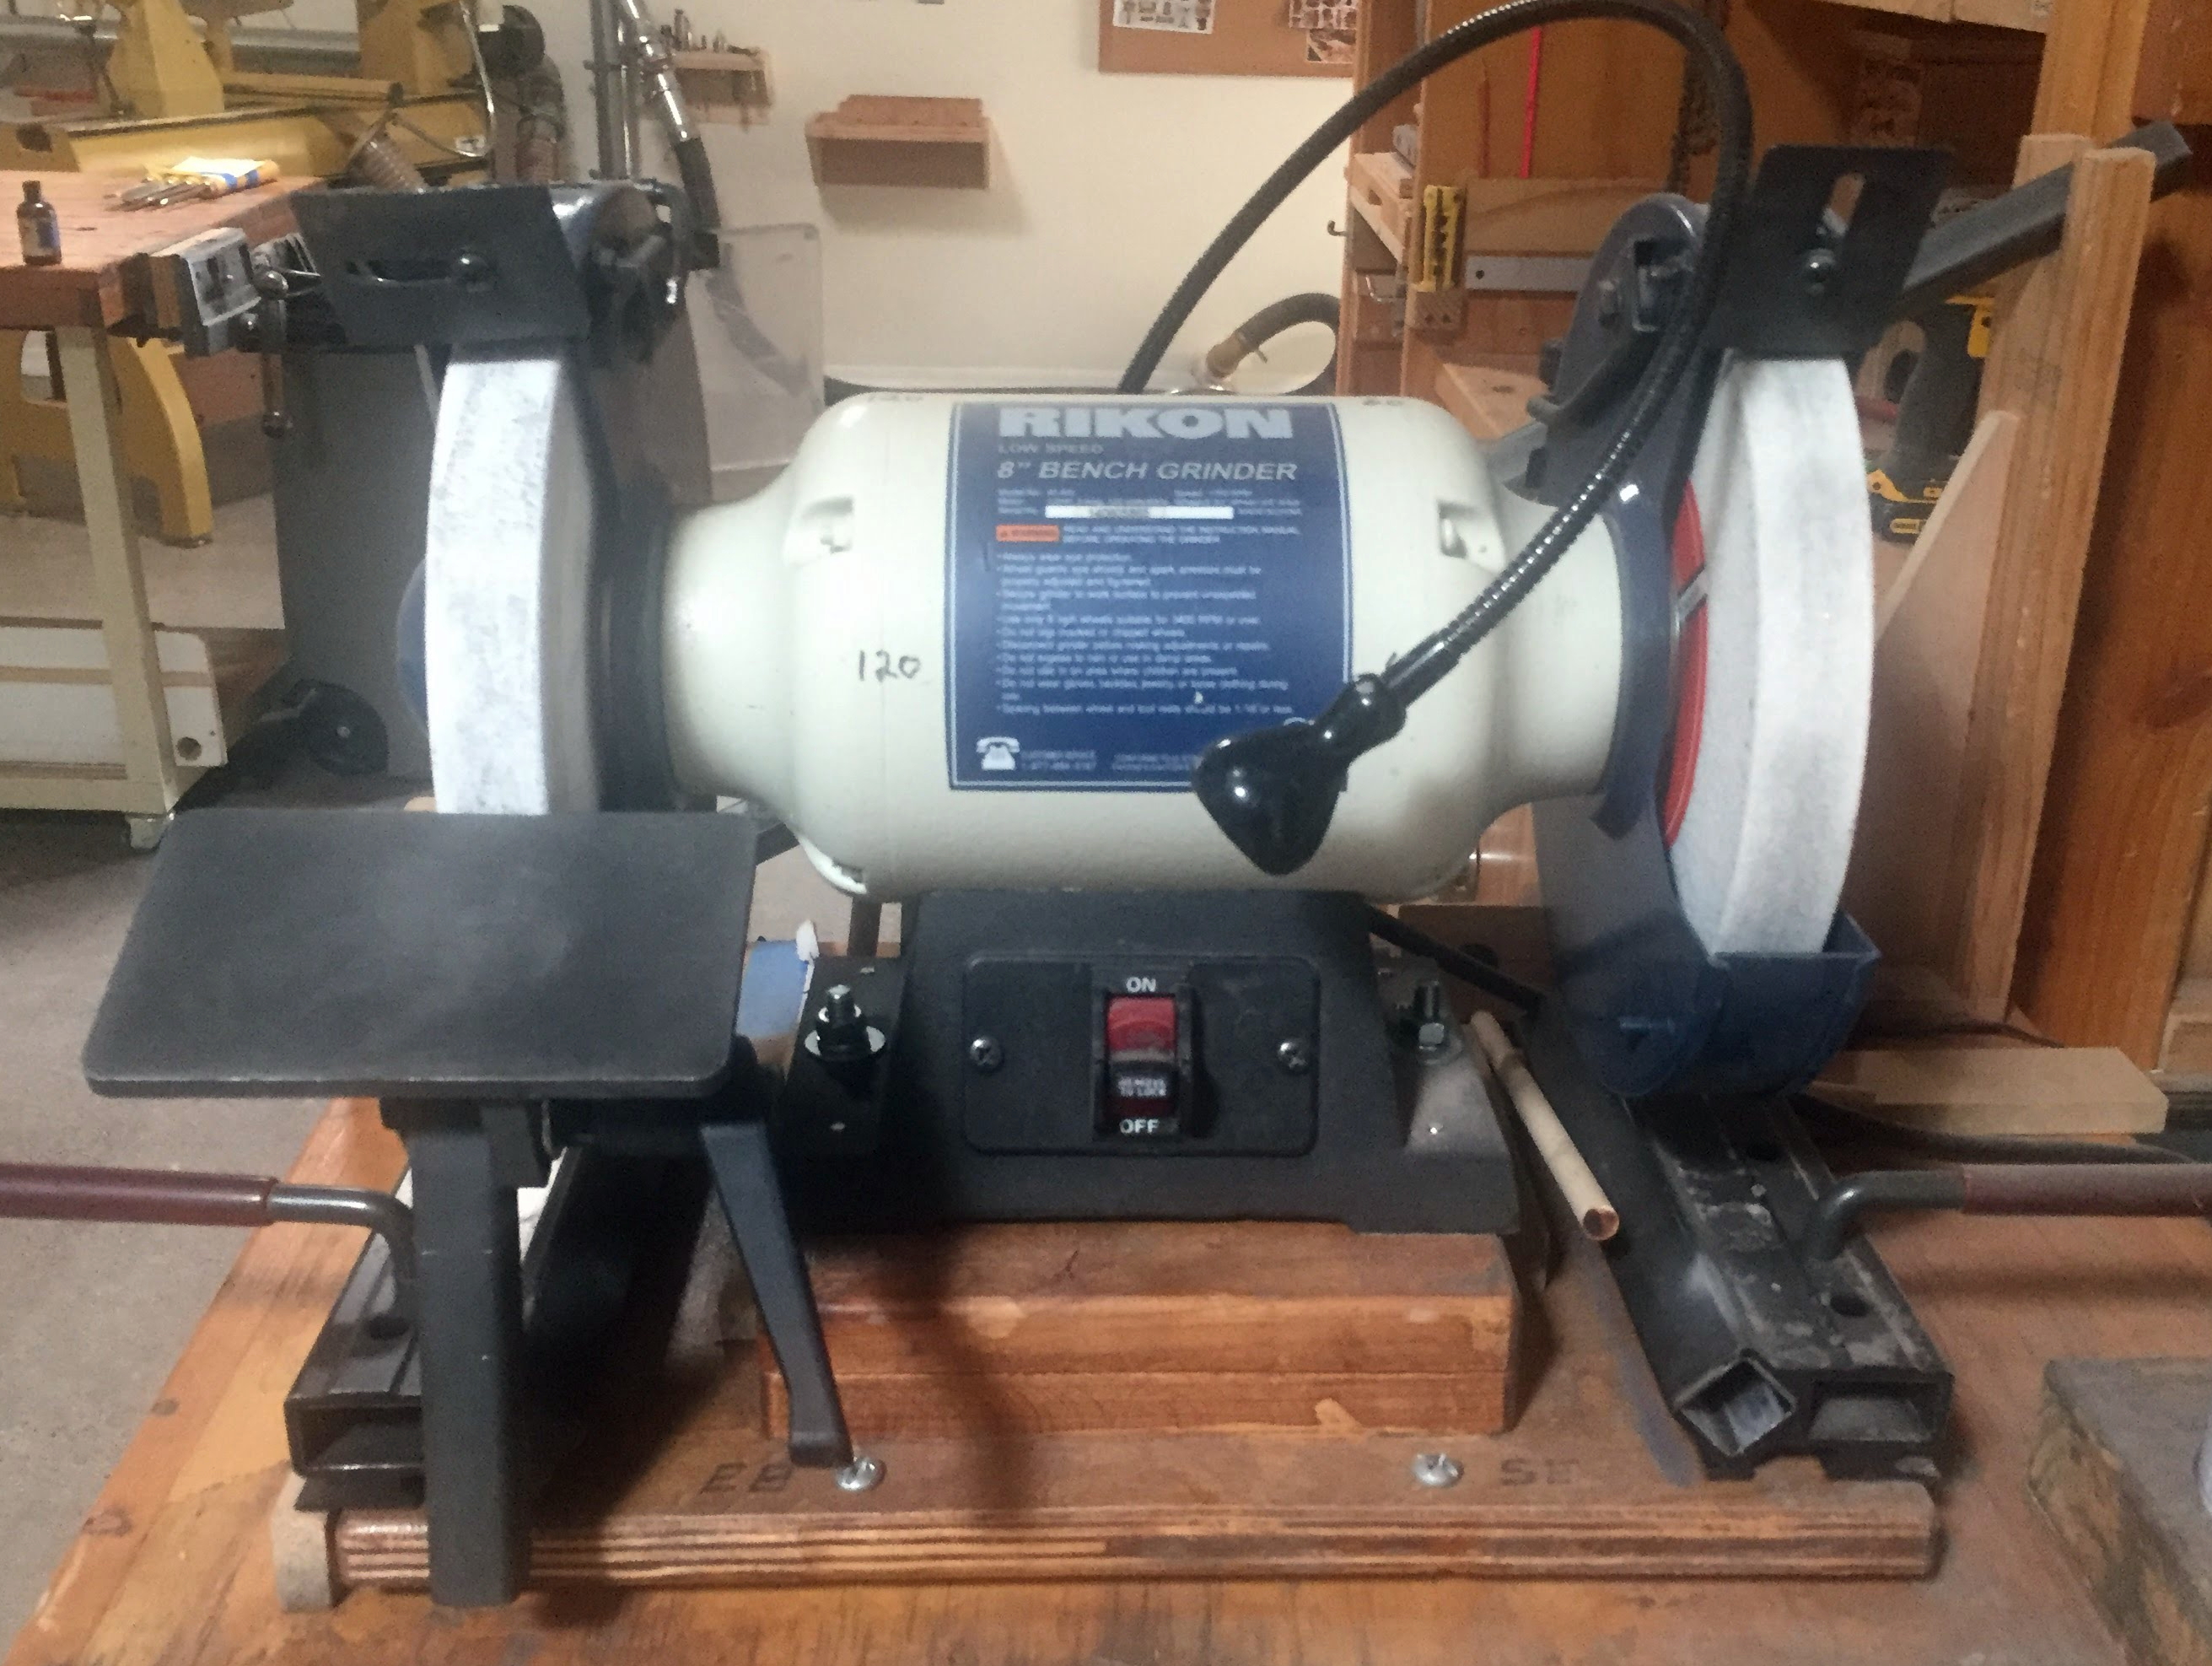
Because grinders are everyday equipment in most workplaces, many users become complacent about their hazards. However, grinders are one of the most frequently cited machines during OSHA safety inspections. It is the one power machine that most users have no idea how to truly operate safely.
Work-Rests and Tongue-Guards:
OSHA specifies that work-rests must be kept adjusted to within 1/8-inch of the wheel to prevent the workpiece from being jammed between the wheel and the rest, resulting in potential wheel breakage. Because grinders run at such high RPM, wheels actually explode when they break, causing very serious injuries, blindness and even death. In addition, the distance between the grinding wheel and the adjustable tongue-guard -- also known as a "spark arrestor" -- must never exceed 1/4-inch. Because the wheel wears down during use, both these dimensions must be regularly checked and adjusted.
Grinder safety gauges can be used during the installation, maintenance, and inspection of bench/pedestal grinders to ensure work-rests and tongue-guards are properly adjusted. To do so, wait until the wheel has completely stopped before using a grinder safety gauge. Grinder coast-down time takes several minutes, which may tempt an impatient employee to use the gauge while the wheel is still rotating. This practice is very dangerous because it can cause wheel breakage.
Other advice:
Where grinders are concerned, personal protective equipment (PPE) usually means a full face-shield, not just safety glasses. The fact is, a user cannot be too careful with a machine that operates at several thousand RPM.
Ring-Testing:
OSHA requires that grinding wheels be ring tested before mounting them. This simple step prevents the inadvertent mounting of a cracked grinding wheel. Ring-Testing involves suspending the grinding wheel by its center hole, then tapping the side of the wheel with a non-metallic object. This should produce a bell tone if the wheel is intact. A thud, or a cracked-plate sound, indicates a cracked wheel. For larger grinders, grinding wheels are laid flat on a vibration-table with sand evenly spread over the wheel. If the wheel is cracked, the sand moves away from the crack.
To prevent cracking a wheel during the mounting procedure, employees must be very carefully trained in those procedures. This starts with making sure the wheel is properly matched to that particular grinder, using proper blotters and spacers, and knowing exactly how much pressure to exert with a wrench, just to mention a few things.
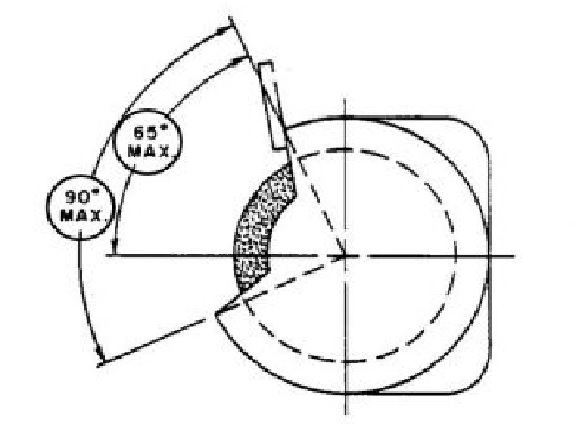
Wheel Covers:
An OSHA-compliant wheel cover allows no more than 90 degrees of the wheel to be exposed, and no more than 65 degrees from the horizontal plane to the top of the wheel-cover. Never exceed these wheel-cover maximum opening dimensions. Larger wheel-cover openings create a wider pattern of flying debris should the wheel explode.
A well-recognized safety precaution on bench grinders is to stand well off to the side of the wheel for the first full minute before using the machine. Accidents statistics show that grinding wheels are most likely to shatter/explode during that first minute.
Grinder Safety Do’s:
- Always handle and store wheels in a careful manner
- Visually inspect all the wheels before mounting for possible damage
- Make sure operating speed of machine does not exceed speed marked on wheel, its blotter or container
- Check mounting flanges for equal size, relieved as required and correct diameter
- Use mounting blotters when supplied with wheels
- Be sure work rest is properly adjusted on bench pedestal and floor stand grinders
- Always use safety guard that covers a minimum of one-half the grinding wheel
- Allow newly mounted wheels to run at operating speed, with guard in place, for at least one minute before grinding
- Always wear safety glasses or some type of approved eye protection while grinding
- Don’t use a wheel that has been dropped or appears to have been abused
- Don’t force a wheel onto a machine or alter the size of the mounting hole. If a wheel won’t fit the machine, get one that will
- Don’t ever exceed maximum operating speed established for the wheel
- Don’t use mounting flanges on which the bearing surfaces are not clean, flat and smooth
- Don’t tighten the mounting nut excessively
- Don’t grind on the side of conventional, straight or Type 1 wheels
- Don’t start the machine until the safety guard is properly and securely in place
- Don’t jam work into the wheel
- Don’t stand directly in front of a grinding wheel whenever a grinder is started
- Don’t grind material for which the wheel is not designed
HAND HELD POWER TOOLS
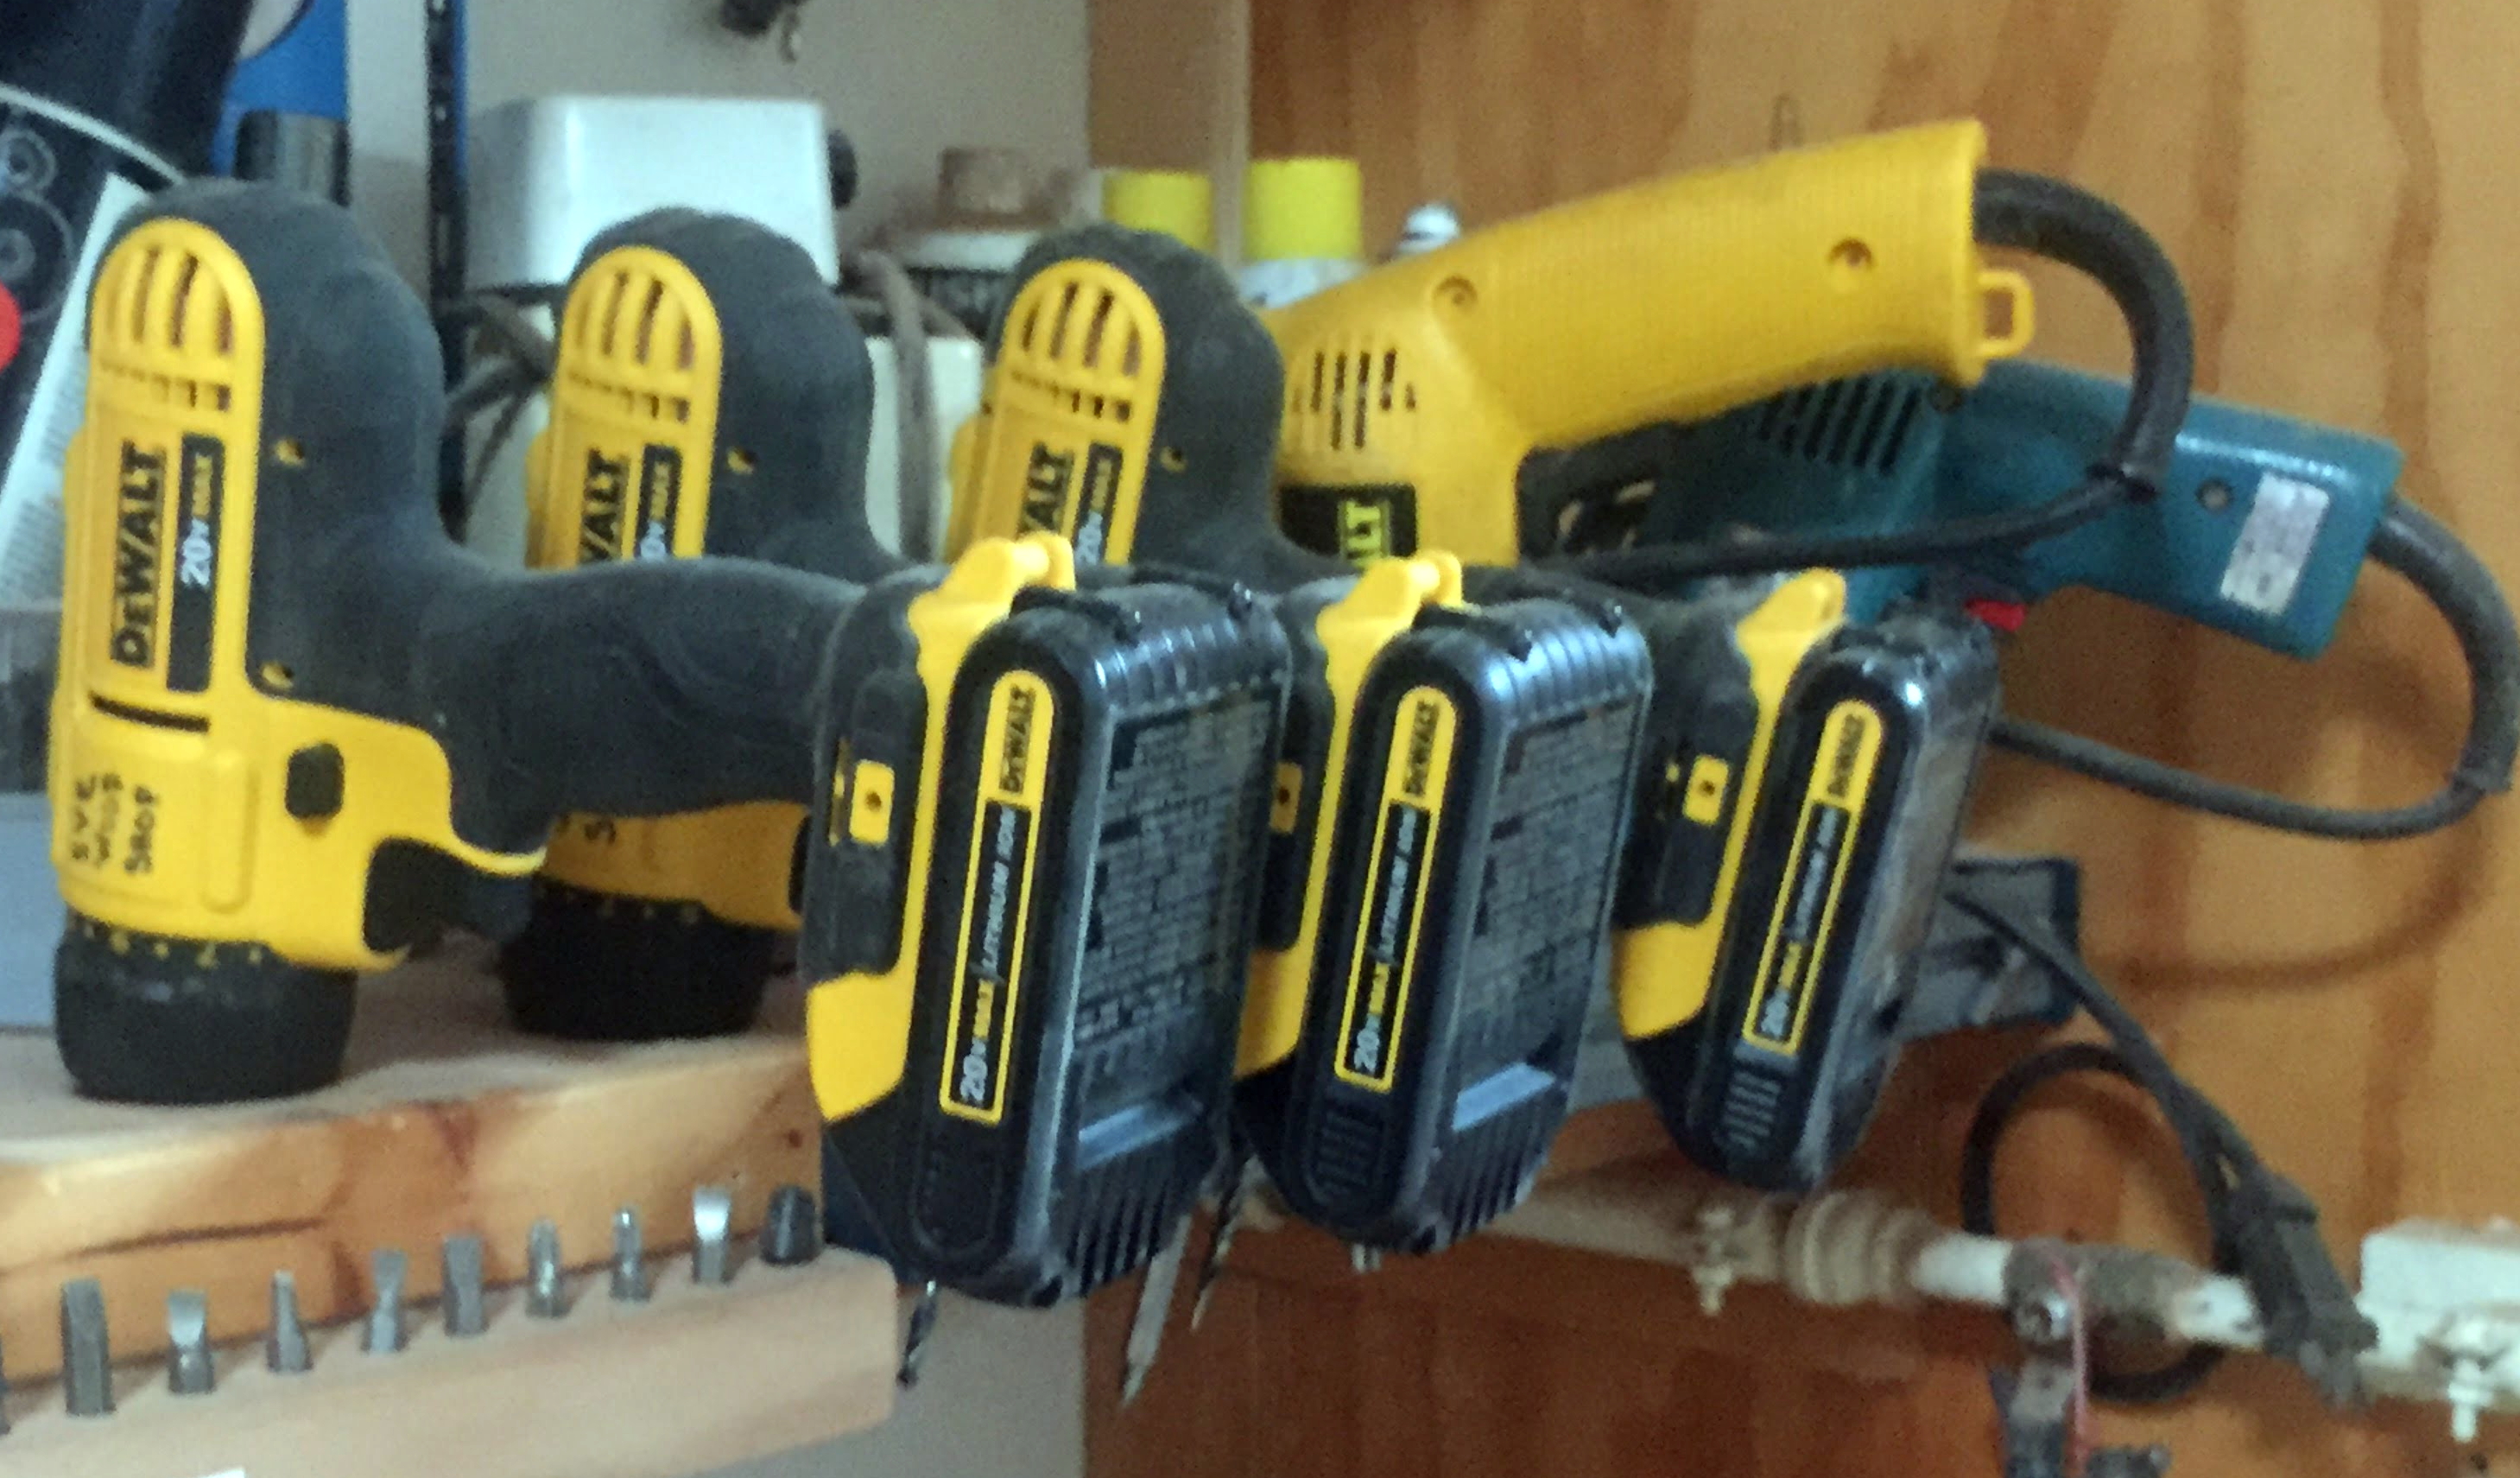
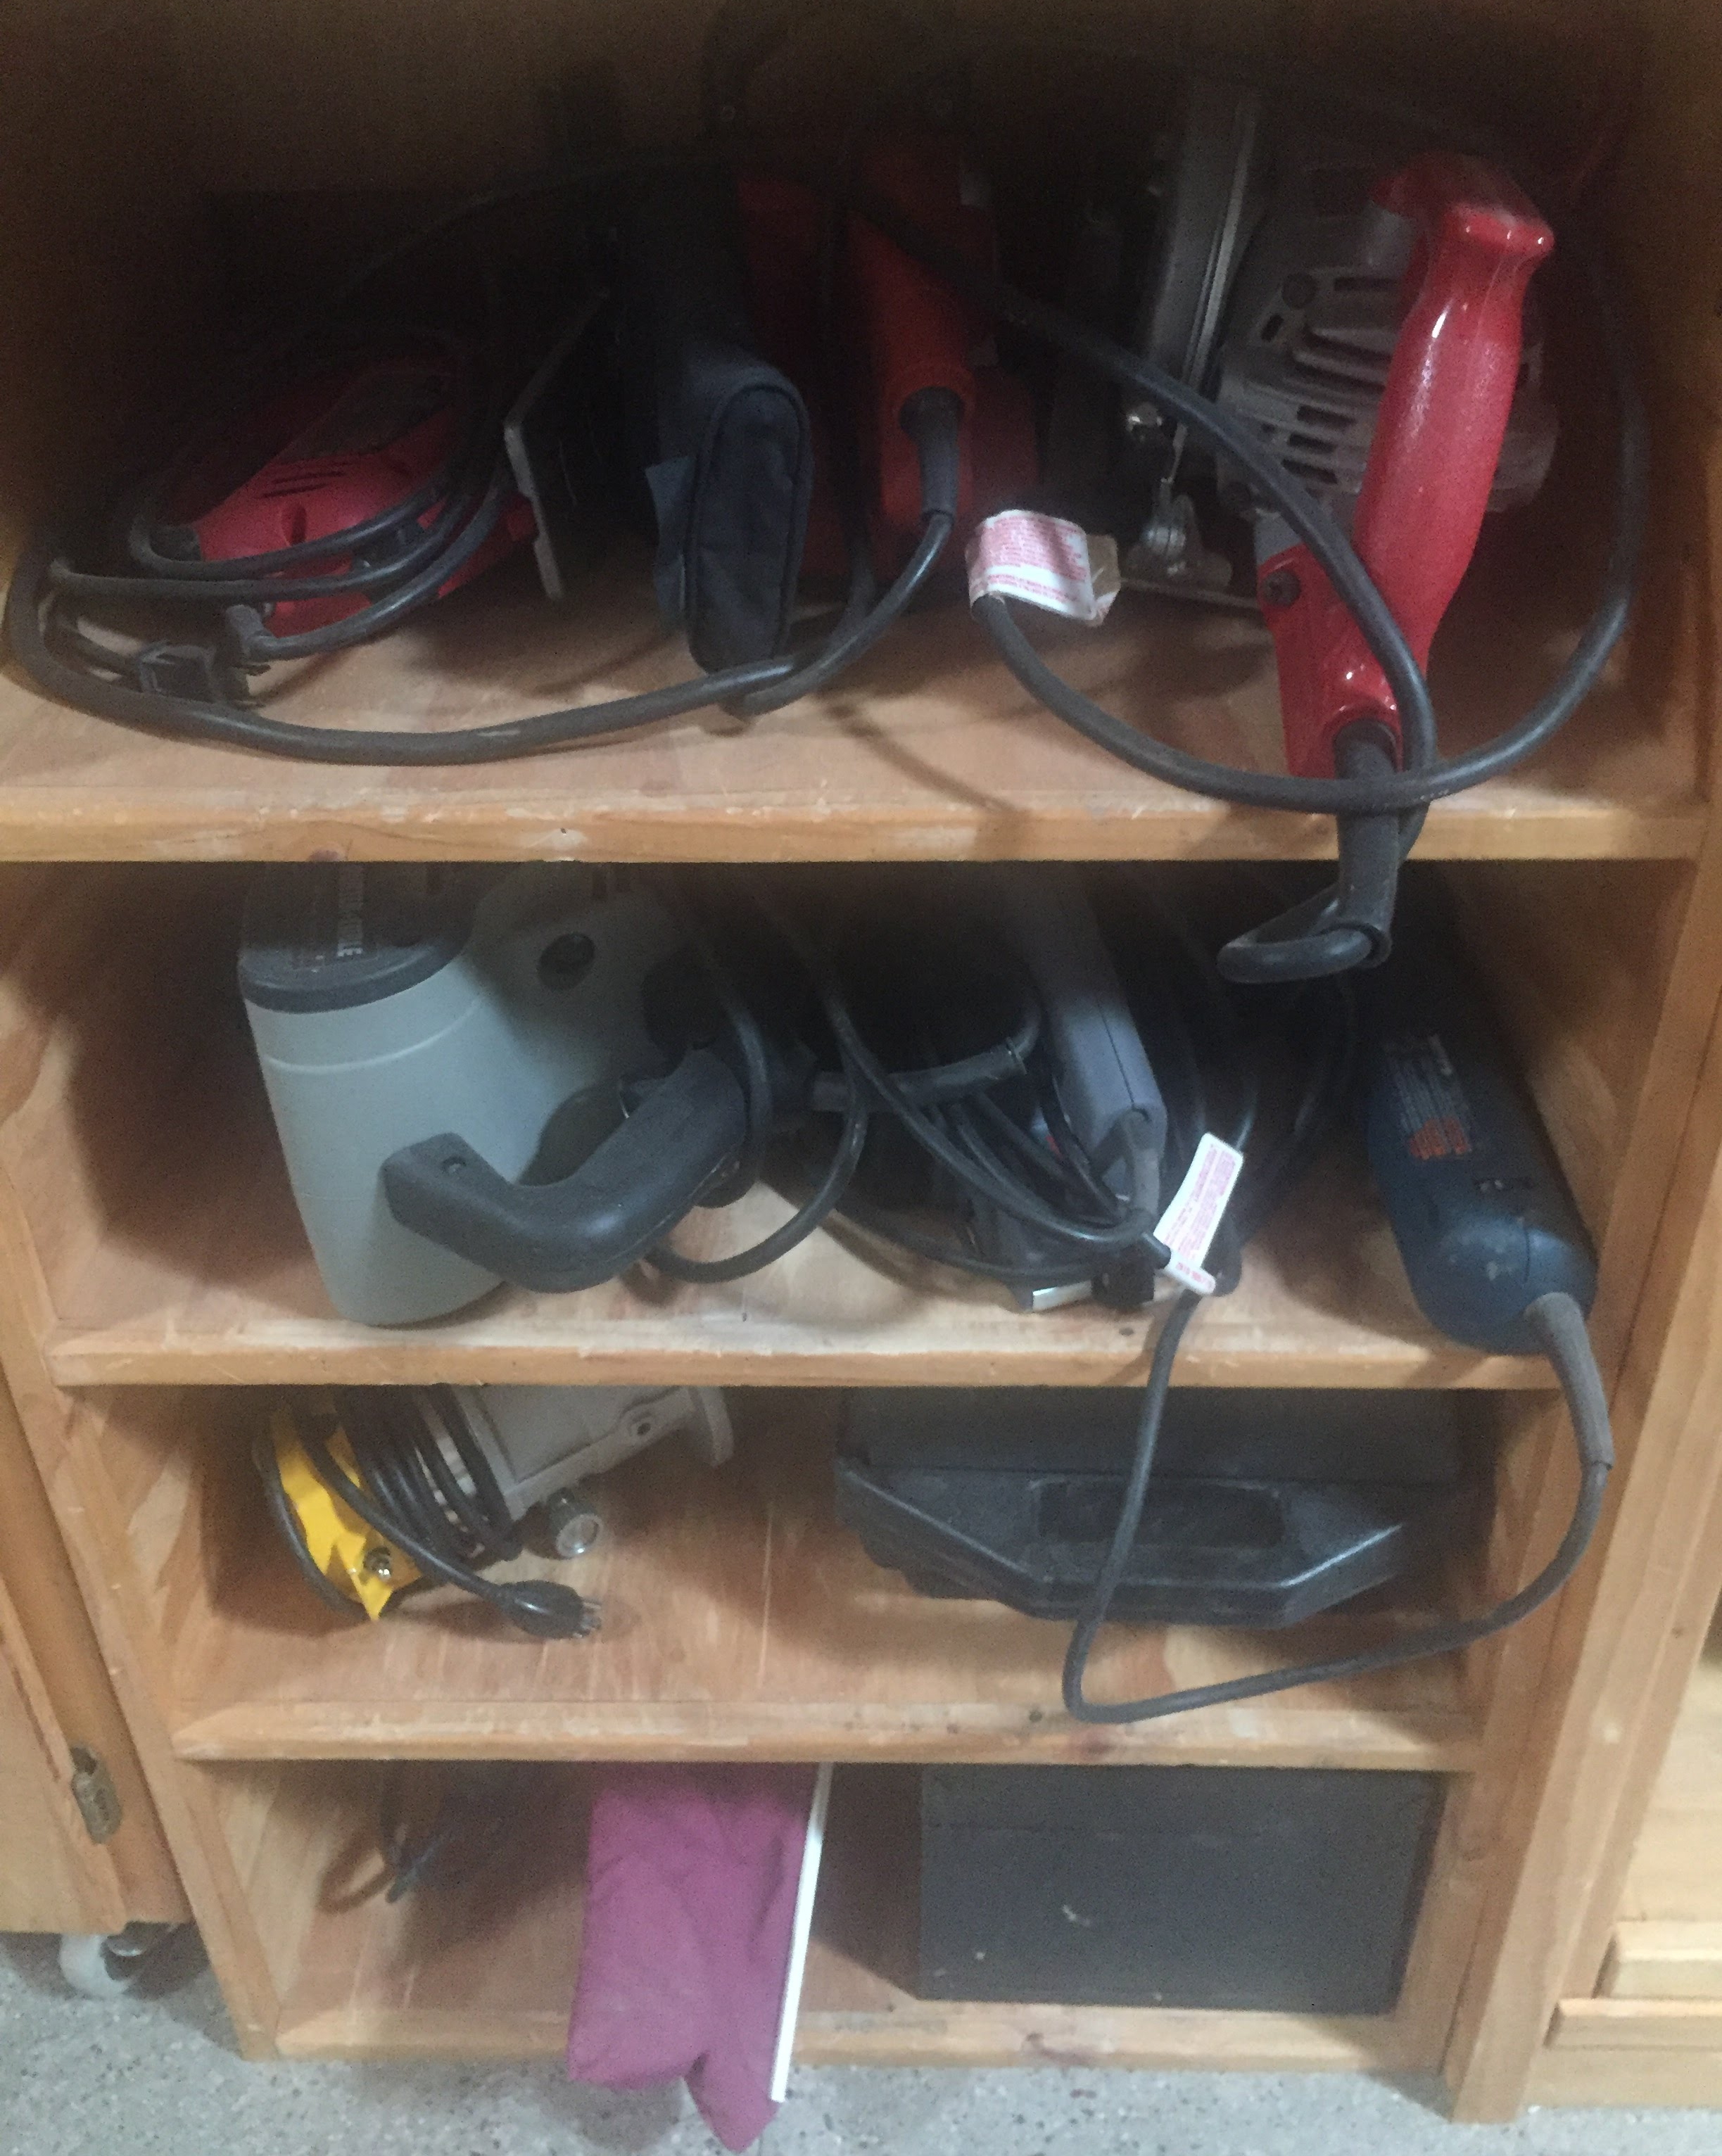
Hand held power tools present more hazards than non-powered hand tools due to the speed at which power tools operate and the potential for the user to come into contact with the power source (electrical, pneumatic, hydraulic etc.). Accordingly, there are differences between the PPE (Personal Protective Equipment) suggested for use with hand tools and the PPE suggested for safe power tool use.
Eye protection, such as safety glasses or goggles, is especially important when using power tools. The speed at which hand held drills, saws, grinders, sanders and routers operate can propel small particles much faster and farther than hand tools. Others working around the area where power tools are used should also wear protective eyewear. Certain power tools may require using a face shield, in addition to safety glasses or goggles. For example, a face shield is suggested while using a portable grinder, due to the amount of high velocity particles generated. A face shield is considered a secondary form of eye protection and should always be used in conjunction with a primary from of protection -– safety glasses or goggles. OSHA’s Eye and Face Protection eTool describes the role of a face shield as PPE this way, "When worn alone, face shields do not protect employees from impact hazards. Use face shields in combination with safety spectacles or goggles, even in the absence of dust or potential splashes, for additional protection beyond that offered by spectacles or goggles alone."
Standard cotton or leather work gloves can protect your hands from minor scrapes and cuts while working with various materials. Cut-resistant gloves are not designed for, or capable of providing protection against a moving blade or bit. The best way to prevent injury from moving parts is to keep your hands on the tools' handles and keep all guards in place.
The higher sound levels generated by some power tools, especially if used over extended periods of time, may require the use of earplugs or earmuffs. Power sanding and grinding operations may require the use of a particulate respirator. Each situation must be analyzed to determine the type of PPE that is required for the safe use of each type of power tool.
Along with PPE, proper attire is also important while using power tools. Tie back or cover long hair and don’t wear loose or torn clothing. Hair and clothing that strays too far from the body can get caught in power tools. Because of this potential, loose jewelry should be avoided as well.
Proper Work Practices
Do not use any hand held power tool that is not in good repair. If you find a power tool that needs repair, take it to a Woodshop Monitor, who will deadline it (tag them: "Do Not Use") until it is in proper working order.
Before using any hand held power tool, it’s crucial to read and follow all the safety precautions covered in the owner’s manual for the tool.
OSHA’s Hand and Power Tool publication offers general guidelines for safe hand held power tool use:
- Never carry a tool by the cord or hose
- Never yank the cord or the hose to disconnect it from the receptacle
- Keep cords and hoses away from heat, oil, and sharp edges
- Disconnect tools when not using them, before servicing and cleaning them, and when changing accessories such as blades, bits, and cutters
- Keep all people not involved with the work at a safe distance from the work area
- Secure work with clamps or a vise, freeing both hands to operate the tool
- Avoid accidental starting. Do not hold fingers on the switch button while carrying a plugged-in tool
- Maintain tools with care; keep them sharp and clean for best performance
- Follow instructions in the user's manual for lubricating and changing accessories
- Be sure to keep good footing and maintain good balance when operating power tools
- Remove all damaged portable electric tools from use and tag them: "Do Not Use"
PNEUMATIC NAILERS AND STAPLERS
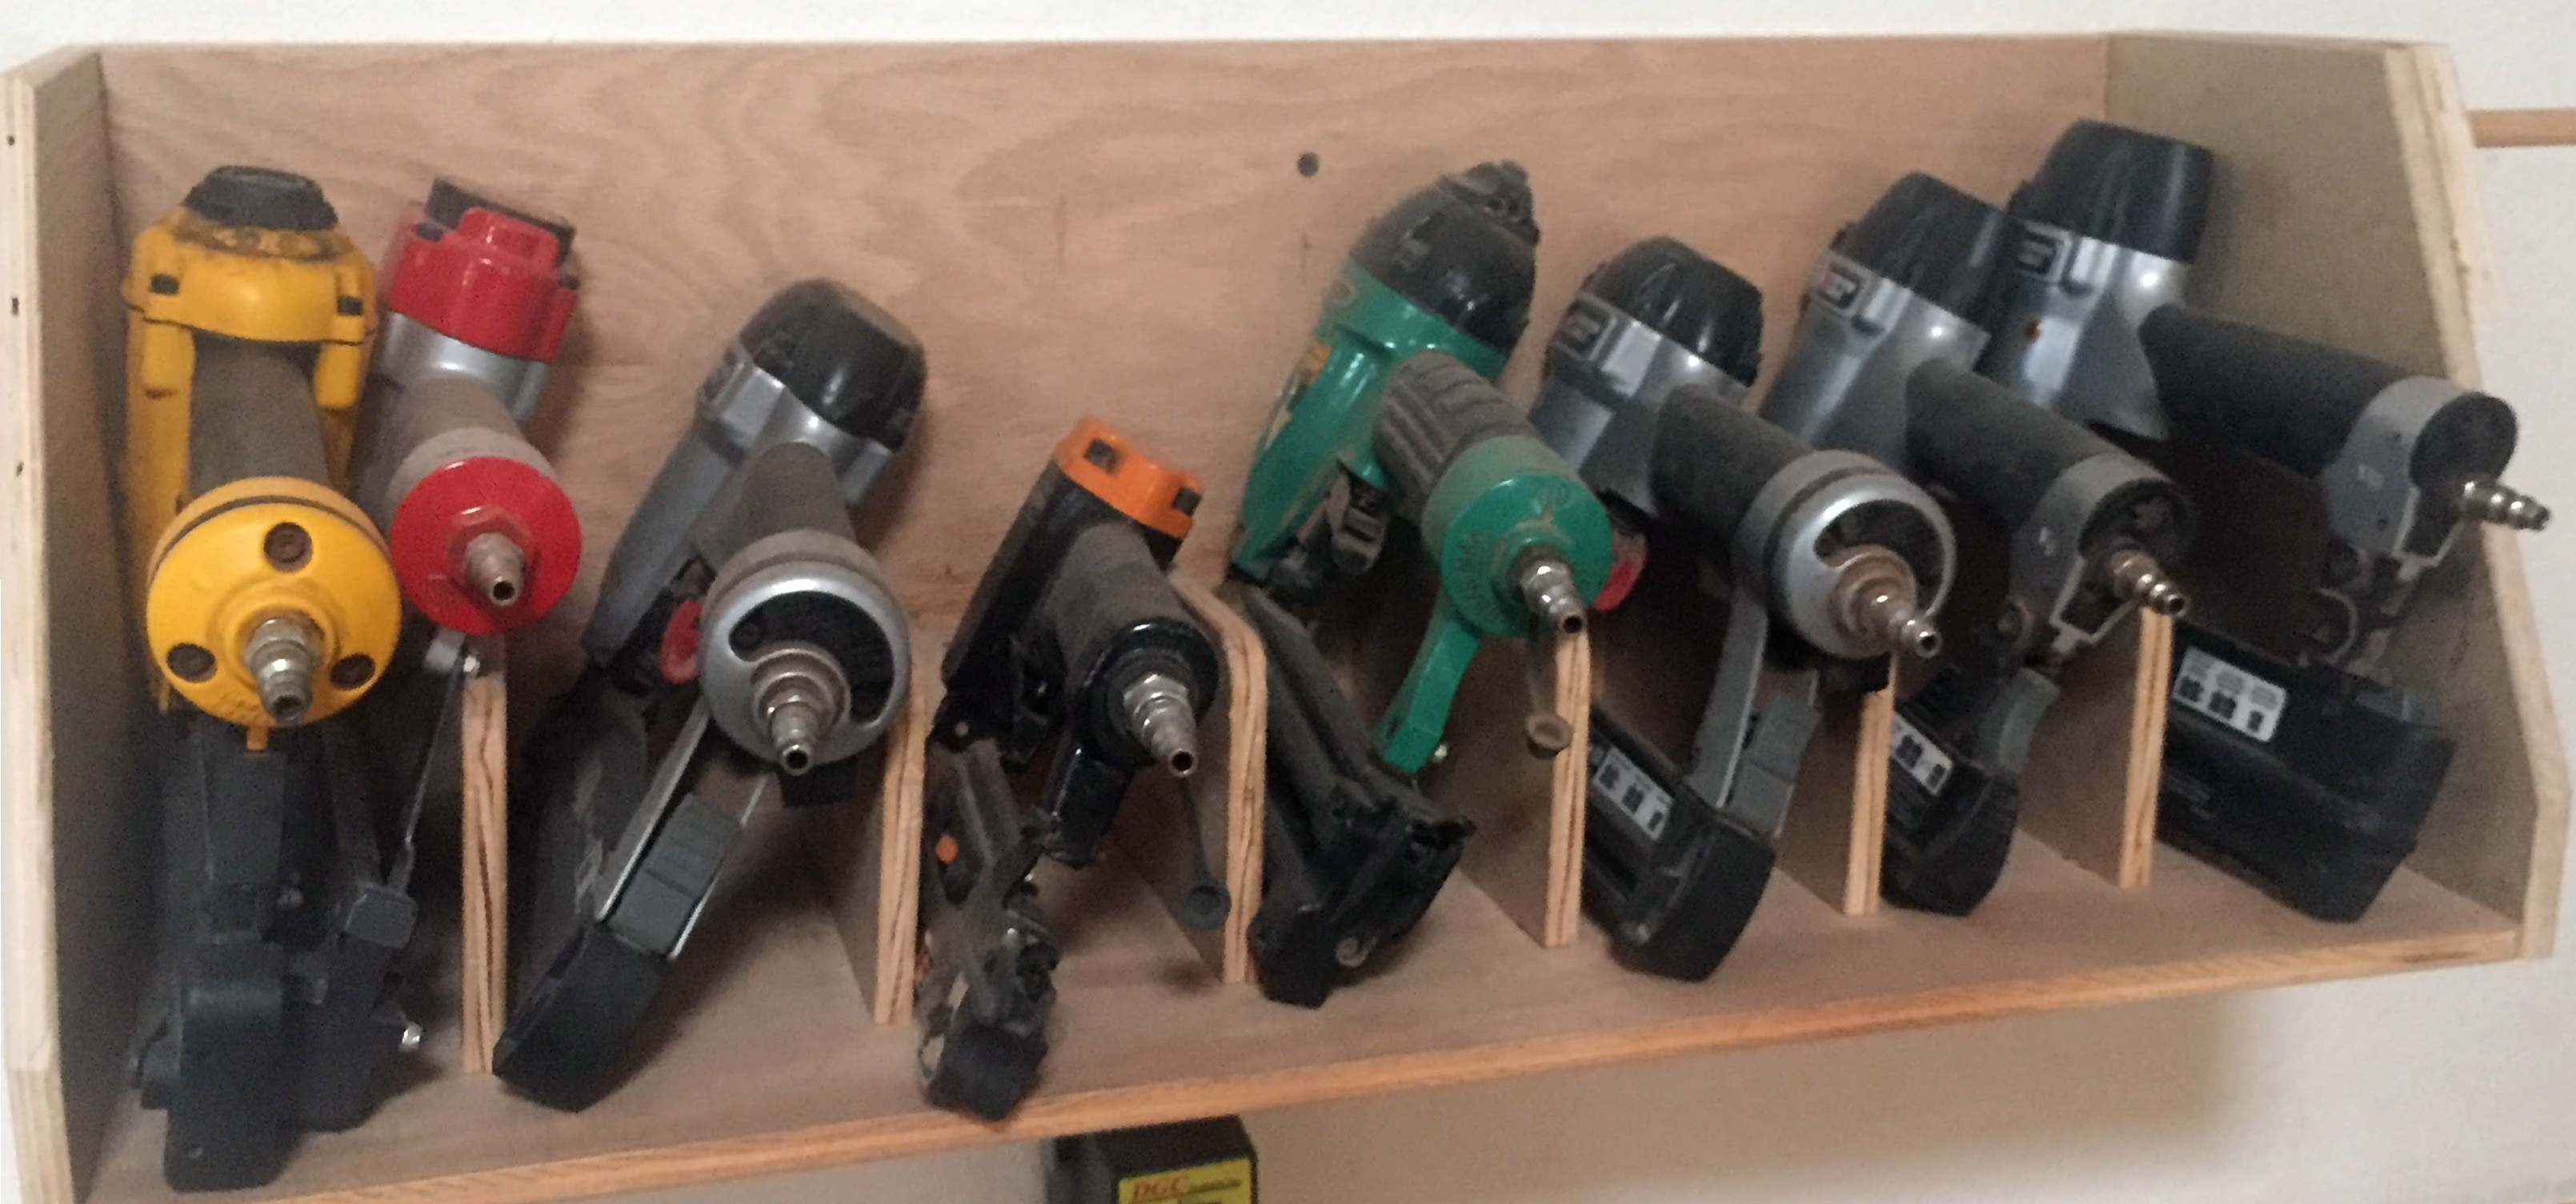
Pneumatic fastening tools are powered by compressed air and primarily include staplers and nailers. Recent U.S. Consumer Product Safety Commission and National Institute of Occupational Safety and Health data indicates that about 37,000 people go to emergency rooms every year with injuries from nail guns.
Because of the dangerous nature of these tools, it is important to be knowledgable about them, and about safe work practices with them.
General safety guidelines:
- Review the owner’s manual carefully.
- If you are unfamiliar with pneumatic nailers and staplers, ask a Monitor for training and demonstration of safe operating procedures.
- Always wear safety glasses.
- Do not touch the trigger unless intentionally firing the tool against a work piece. Sequential mode and bump mode are the two basic trigger mechanisms used in pneumatic nailers and staplers. It is important to understand the differences between the two triggers in order to prevent injuries. To find out whether your nail gun is a sequential trigger or bump trigger model, fire a nail as usual and keep the trigger depressed. Lift the nail gun and carefully press its nose against the work surface again. If the gun fires a second nail, you have a bump trigger model. If the gun doesn’t fire, you have the safer sequential trigger model. Bump-mode triggers are not allowed in the SVE Woodshop.
- Use extreme caution when using any air tool around other workers.
- Never point the tool at anyone. Treat the tool like a firearm and assume it’s loaded.
- Disconnect the air hose before clearing a jam or making adjustments.
- Use the manufacturer’s specified pressures for the tool.
- Keep your free hand safely out of the way of the tool head. Many injuries result from driving a nail or staple through wood into ones finger, particularly when the wood grain deflects the nail or staple out the side of the workpiece unexpectedly.
PAINTS, SOLVENTS (PAINT THINNERS) AND PAINT REMOVERS
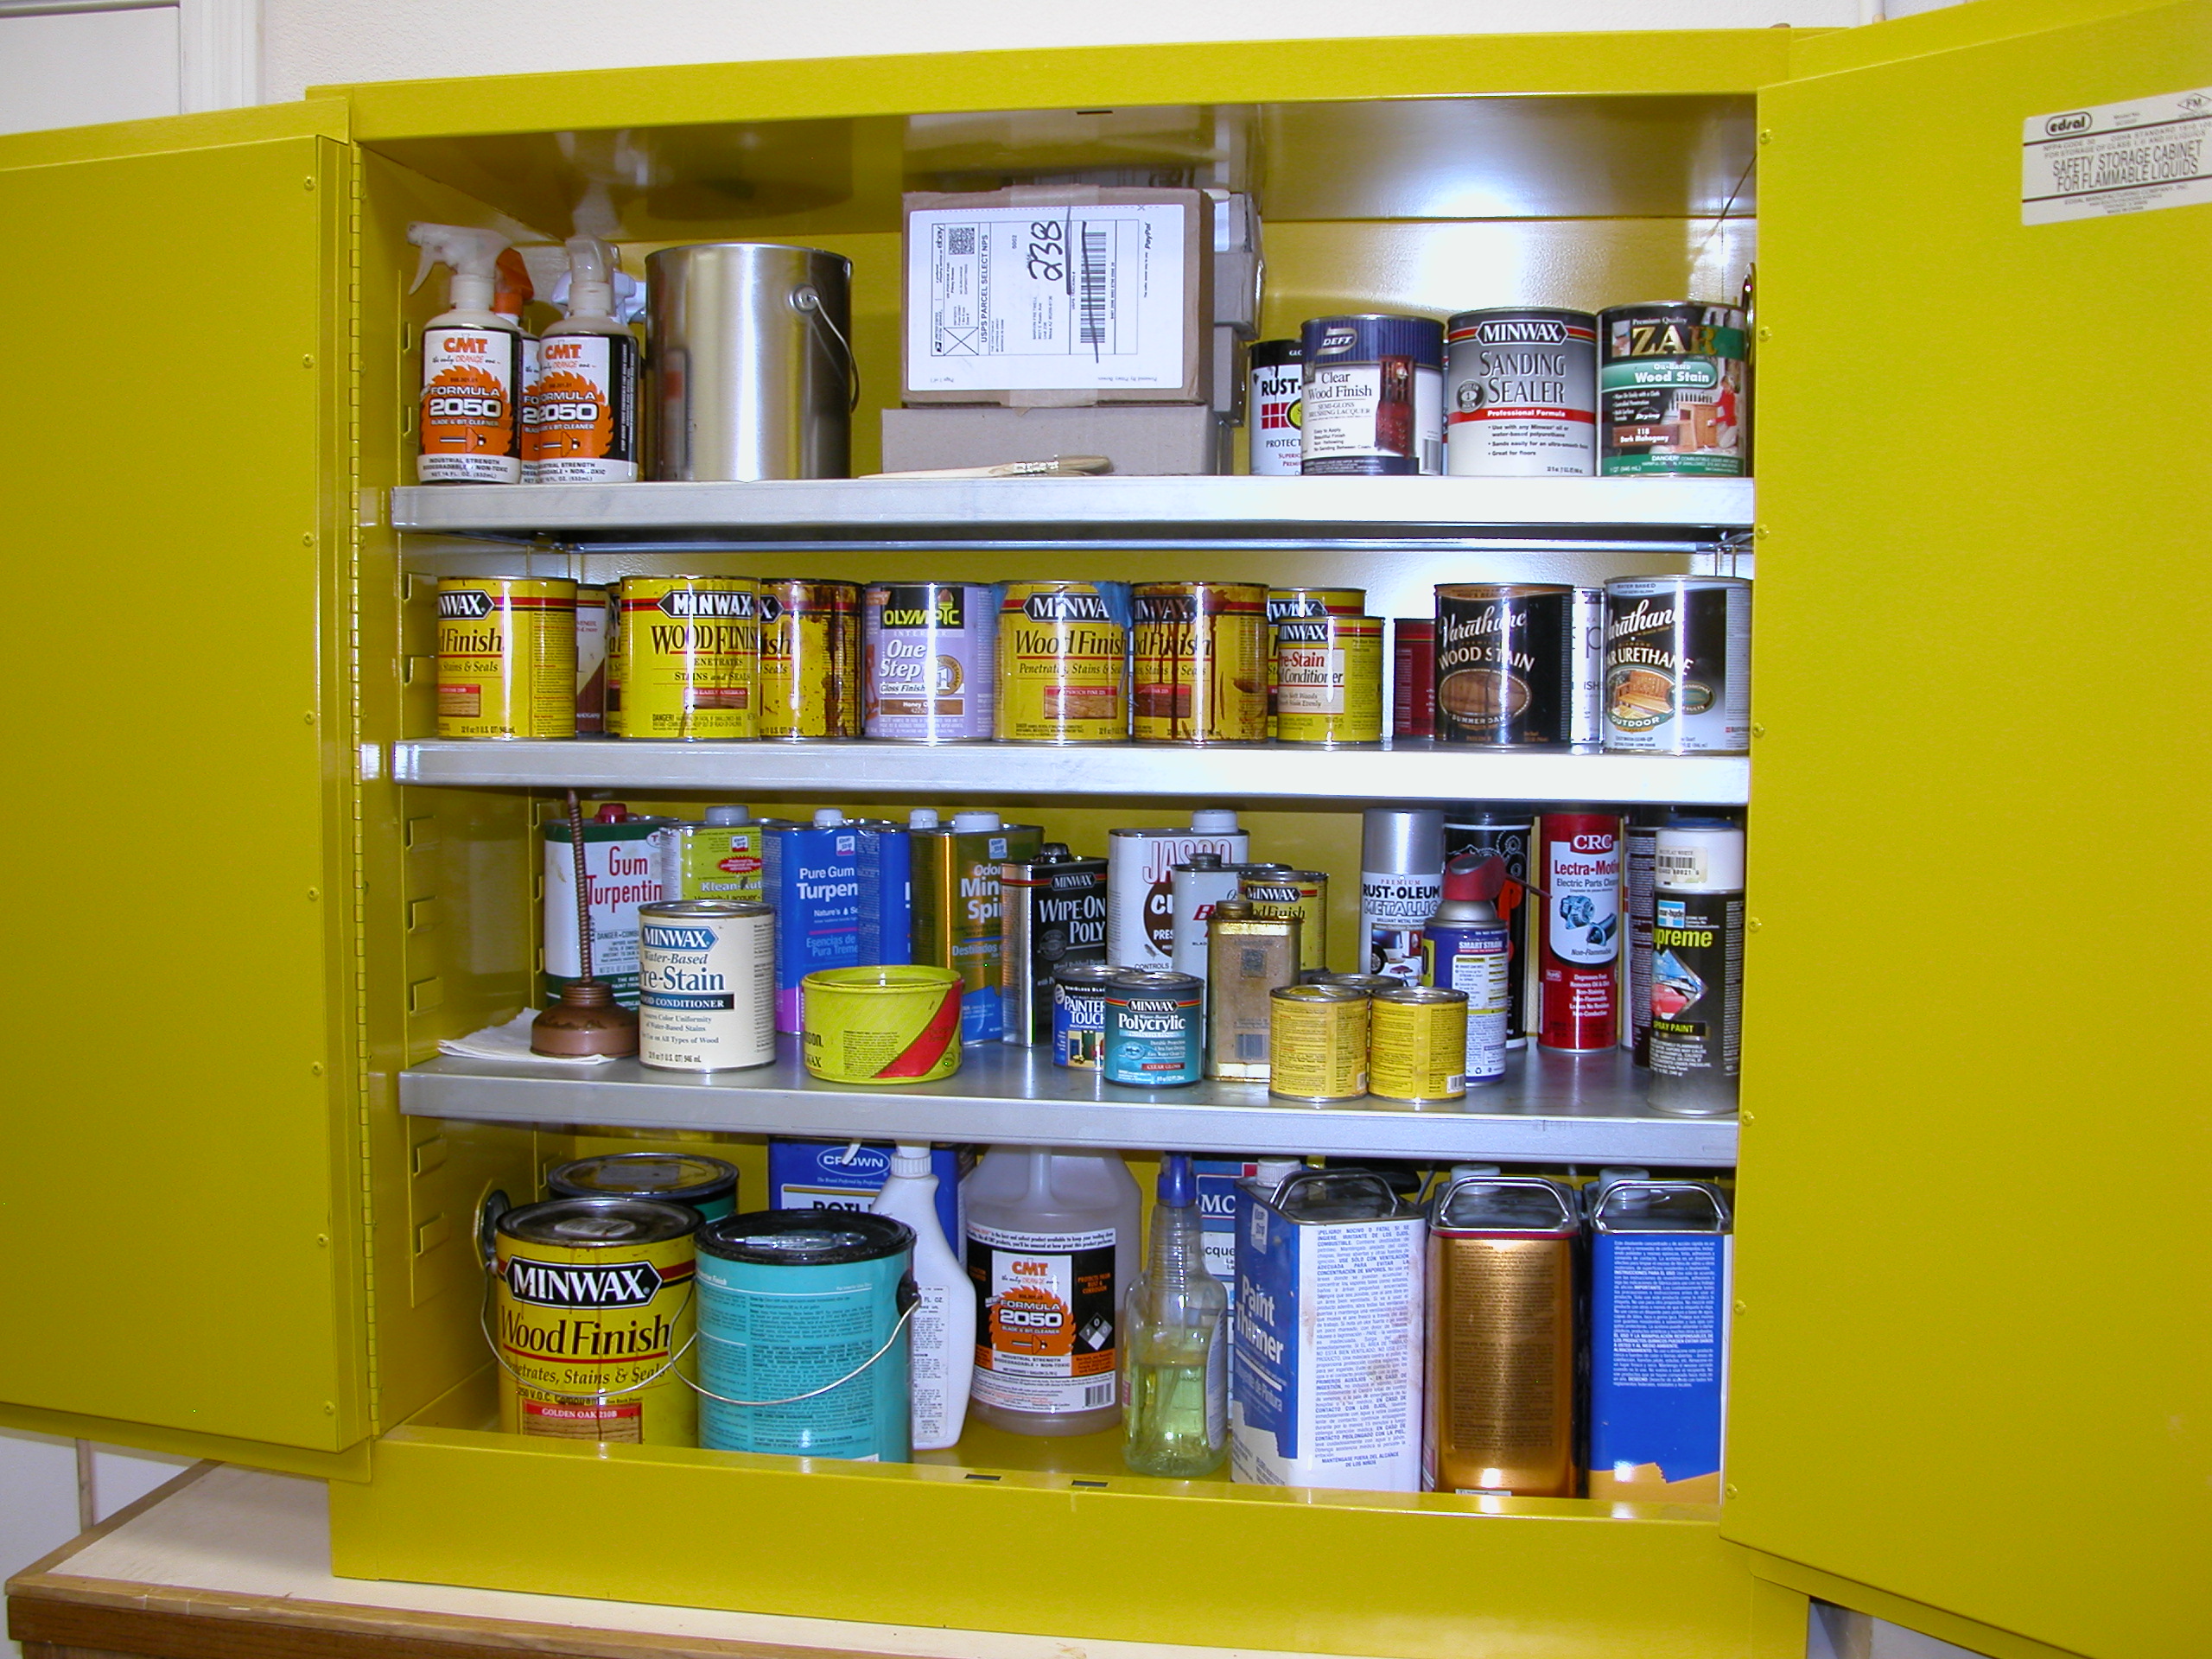
It is firm policy in SVE Woodshop that all paints and solvents, whether solvent based or water based, shall be stored in the fireproof paint cabinet. The doors of the cabinet shall be kept closed and latched at all times except during removal and replacement of paints or solvents. Never leave the doors to this cabinet open.
When using solvents, make sure that your workplace has good ventilation. Solvent vapors can become concentrated near open containers of liquid solvent. These invisible vapors are very dangerous. Remember, the vapors burn, not the liquid. It only takes a spark or high temperatures to start a fire.
The most common oil-based paint thinners used today are Turpentine and Odorless Mineral Spirits.
Turpentine is made from tree sap that is secreted by conifer trees (like pine, cypress, fir, larch, fir), where the tree sap is distilled to separate the oil from the resin, creating the solvent known as Turpentine. The process to industrially distill the tree sap (and the wood that produces the sap) often uses naptha and chemicals to extract the most solvent possible. Tree sap is an oleo-resin that acts as the tree’s natural bug repellant, so it makes sense that the distilled solvent from it would be toxic to breathe.
Because of headaches and health issues related to the use of Turpentine (primarily since the 1950s), the principal substitute has been Odorless Mineral Spirits.
Odorless Mineral Spirits is made from distilled petroleum, with chemicals added to the petroleum distillate to eliminate the strong odor. This addition does not remove the toxic fumes from the product; rather, it only makes them less detectable to the senses. It is advertised as less toxic than Turpentine because it evaporates more slowly than Turpentine, but essentially it is deodorized distilled industrial gasoline that is toxic to breathe but has a low odor so people do not notice the toxic fumes.
Solvent-based (or “oil based”) paints, enamels, varnishes, sealants, etc. meet the definition of hazardous waste and unused portions must be disposed of at the City of Mesa Hazardous Waste Facility. Therefore, it is in our interests to completely use up solvent-based finishes, and dispose of the air-dried containers in our regular waste disposal. Containers with remaining liquid finish must never be thrown into our regular waste disposal containers.
Waste mixtures of solvent based paint and paint thinners-solvent must be collected in a closed, labeled container. The container of solvent based paint-paint thinner waste must be closed after additions; and the funnels, if any, should be cleaned out regularly.
Many of the solvents that are used are either flammable or combustible. Flammable solvents are those that can have a "flash point" at temperatures lower than 100°F. The flash point is the lowest temperature at which a solvent can catch fire -- the lower the flash point, the more dangerous the solvent. Combustible solvents can catch fire at temperatures at higher than 100°F but lower than 200°F. The following is a list of some common solvents that might be in our Woodshop:
| SOLVENT | HAZARD RATING |
| Acetone | Flammable |
| Adhesive Remover | Highly Flammable |
| Brush Cleaner | Flammable |
| Denatured Alcohol | Highly Flammable |
| Enamel Reducer | Extremely Flammable |
| Lacquer Thinner | Extremely Flammable |
| Mineral Spirits | Combustible |
| Turpentine | Flammable |
| Wax-Grease Remover | Highly Flammable |
| Xylene | Flammable |
Keep solvents and other hazardous materials in clearly labeled containers with the name of the chemical or brand name. To minimize the risk of fire, all flammable liquids, regardless of the amount, must be stored in a fireproof cabinet. This is an OSHA regulation.
There are many different types of paint thinner available, all of which have varying degrees of toxicity. On the whole, most paint thinners are dangerously toxic if not used and disposed of in the correct manner:
-
Work in a Well-ventilated Environment
Paint thinners emit fumes, which can cause nausea, headache, or breathing trouble, among several other health problems. When you work with paint thinners, you must ensure adequate ventilation in the work area. Leave windows or doors open for proper air circulation. If this is not possible, make use of exhaust fans. -
Wear Safety Equipment
Wear safety goggles and a respirator when you are working with paint thinners. These articles will protect you from possible splashes or fumes. -
Take Prompt Steps for Required First Aid
If you or a helper experiences breathing trouble, skin irritation, or has accidental contact with thinner on their eyes or other sensitive organs, arrange for immediate medical attention. Wash paint thinner off of skin with water and soap. If paint thinner is splashed into the eyes, you should flush it away with running water for 10 or 15 minutes, and then seek medical attention.
If paint or thinner is ingested, contact your local poison control center and arrange for medical aid. -
Keep Paint Thinner Away From Acidic Materials
Paint thinner can react with acids and acidic materials in a hazardous chemical reaction. You must keep the two separate at all times. -
Keep Away From Combustible Materials and Heat
Paint thinner is a volatile substance that must be kept away from combustible materials, liquids, heaters, and open flames. -
Never Consume Food in the Vicinity
Never eat or drink in the work area when you are handling paint thinners. The food substances can easily be contaminated and you may unknowingly ingest paint thinner. -
Never Use Paint Thinner as a Generic Cleaner
Never use paint thinner to clean countertops, floors, or walls. In addition to the risk of fire, you will be exposed to the fumes indoors for extended periods of time. In addition, paint thinner can be very harmful to certain surfaces and adhesives or painter's caulk. -
Wash Your Hands After Use
After using paint thinner, you must wash your hands thoroughly with soap and water. This will keep your skin clear of the thinner, reduce chances of skin inflammation or irritation, and reduce chances of contamination of foods and drinks. -
Never Smoke in the Woodshop or Paint Room
This may seem like a given when we consider the dangers of keeping thinner near heat, but smoking in the presence of paint thinners is very dangerous. If an open flame lands on the thinner, it could result in uncontrollable flames. -
Dispose of Unused Paint Thinner Properly
Paint thinner is a hazardous waste, which must be disposed of according to the rules and regulations set for its use. Never throw paint thinner in regular trash or pour it down drains.
When using chemicals such as solvents and strippers, always read the manufacturer’s warnings and carefully follow the safety precautions on the label. These products have varying degrees of flammability and toxicity, so take extra care. -
Keep Containers Tightly Closed and Safely Stored
Keep paint-thinner containers tightly closed, and store in the fireproof cabinet. - Rags that have been soaked or used with paint thinner, paint, oil finishes, or oil stains may be very flammable, and spontaneous combustion can (and has) often occured. The safest -- and only acceptable -- way to dispose of soiled rags is to put them into the fireproof disposal container.
Removers, also called strippers, eliminate all types of paint and finishes to reveal an object’s original surface.
Once you've successfully stripped paint or finish, place the waste in the fireproof waste container. Wait until the stripped paint dries before disposing of it.
There are two classifications of removers: solvent-based and safer.
Solvent-based strippers utilize potent methylene chloride (MC) to work in as little as 15 to 30 minutes. They can strip up to 15 layers of paint.
Safer strippers usually do not have as strong an odor and they are not as harsh as solvent-based strippers. They can take as long as four to 24 hours to fully penetrate the surface, depending on the size of the project, and can strip as many as seven layers of paint.
Solvents are used to dissolve or thin paint, and as part of paint preparation or cleanup. After a remover has been used, solvents are often needed to clean and prep the surface to receive a new finish.
Commonly used solvents include mineral spirits, turpentine, denatured alcohol, linseed oil, xylene, lacquer thinner, acetone and methyl ethyl ketone (MEK).
| Product to be Thinned | Solvents to Use |
| Adhesives | Acetone; MEK |
| Epoxies | Xylene; MEK |
| Fiberglass resins | Acetone; MEK |
| Lacquer | Lacquer thinner (comprised of acetone, toluene and methanol) |
| Oil-based paint | Mineral spirits; Turpentine |
| Shellac | Denatured alcohol |
| Varnish | Mineral spirits; Turpentine |
- When stripping paint, always use safety gear to protect yourself against the toxic chemicals and fumes. Use brushes, scrub pads and scrapers to remove the paint once it’s been stripped or dissolved.
- Safety is of the utmost concern when working with solvents and removers, particularly when working with flammable materials or substances that emit toxic fumes.
- Protect your body by wearing pants, a long-sleeve shirt, gloves and an apron. Splash-proof goggles will keep your eyes safe while a respirator will help protect your respiratory system.
- Even if you're wearing a respirator, make sure you're working in a well-ventilated area.
- Wear a full-face shield when working with caustic removers, such as lye, and chemical-resistant gloves rolled over your sleeves to prevent drips from running down your arm.
- For a chemical-free option, heat guns can be used to remove paint. Once heated, simply use a scraper or putty knife to remove the finish.